Day9:Astro 的安装与本地站点搭建
- 今日抖音发布:从零开始做自媒体_第九天:Astro的安装
- 今日B站发布:从零开始自媒体之路_Day9Astro的安装
- 今日Youtube发布:自媒体之路 day9Astro的安装
- 今日CSDN发布:做自媒体·第 9 天:winget + fnm 装 Node.js 26,Astro 向导生成 Starlight 站点
- 今日头条发布:自媒体之路——Day9:装好Node.js,本机跑起一个网站
- 今日博客园发布:自媒体起步笔记(九):三个版本号不一样时,认哪一个
- 今日微信公众号发布:自媒体之路 Day 9|把 Node.js 装上,再让站点在本机开起来
2026-11-08 · 守民通识 · 自媒体之路
安装 Node.js 26,用 CLI 向导生成 Astro 站点
Section titled “安装 Node.js 26,用 CLI 向导生成 Astro 站点”这节装 Astro:先装 Node.js 26,用 CLI 向导生成 Starlight 文档站,再跑起本地服务;导图里「建立网站」这一支从这里长出来。
本页内容索引
Section titled “本页内容索引”- 一、站点首页与左侧大纲
- 二、Astro 安装文档
- 三、Node.js 下载页与 winget
- 四、PowerShell 里验版本、装 Node.js 26
- 五、CLI 向导生成 Starlight 项目
- 六、VSCode 里跑起本地服务
- 知识地图进度(截至 Day 9)
- 尾声
一、站点首页与左侧大纲
Section titled “一、站点首页与左侧大纲”步骤 1:打开 shoumingeneralist.cn,首页左上角是频道名。
Section titled “步骤 1:打开 shoumingeneralist.cn,首页左上角是频道名。”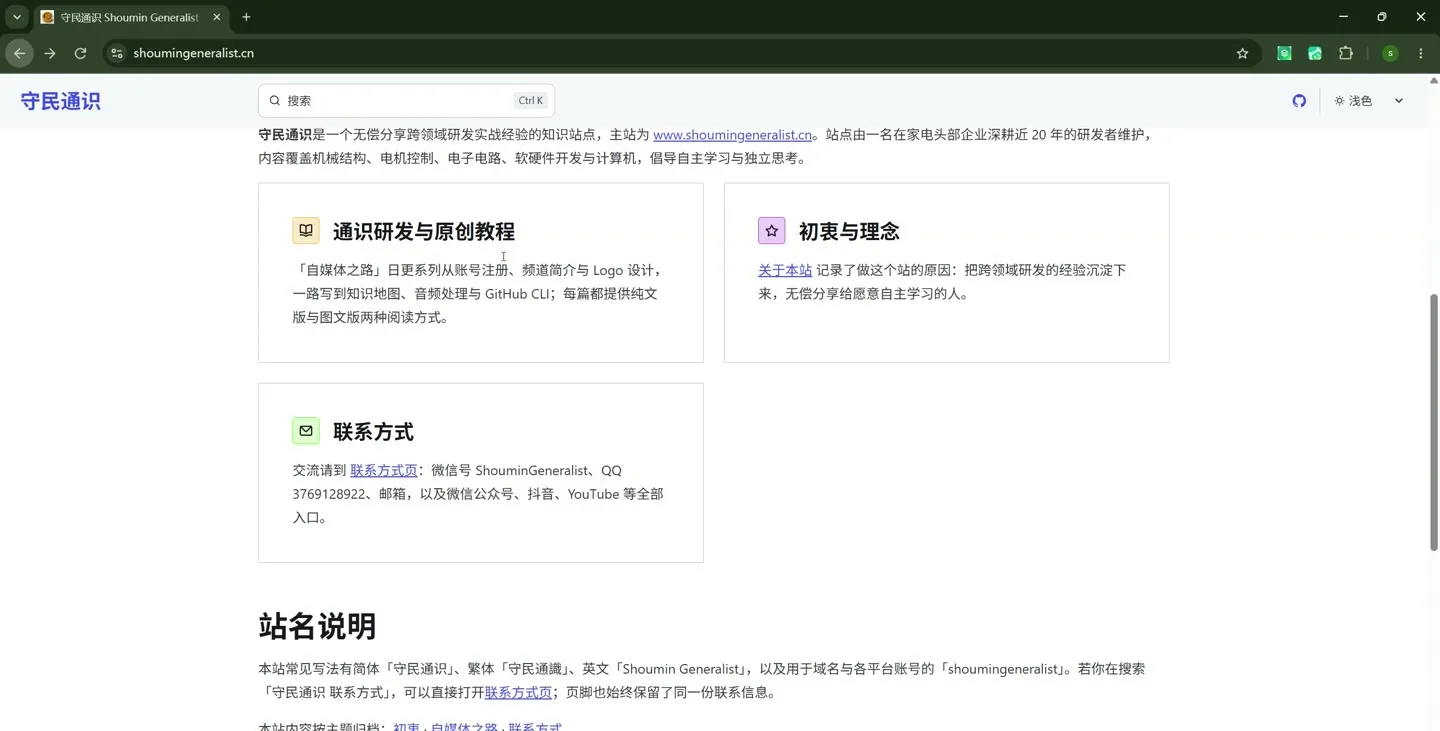
站点首页,频道名在左上角
步骤 2:点主题切换按钮,深色、浅色来回切。
Section titled “步骤 2:点主题切换按钮,深色、浅色来回切。”步骤 3:点首页中间的「开始阅读」。
Section titled “步骤 3:点首页中间的「开始阅读」。”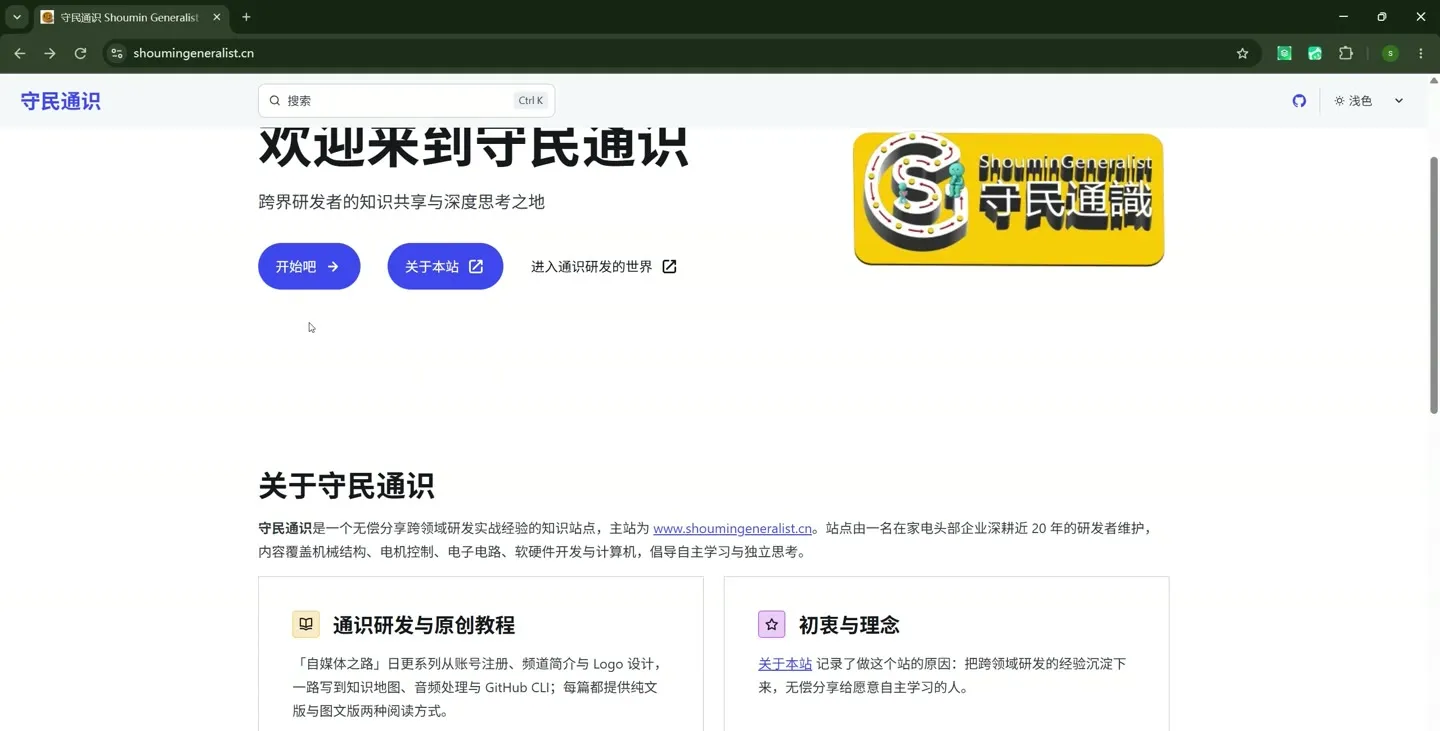
首页上的开始阅读按钮
步骤 4:进入「自媒体之路」,左侧是日更大纲。
Section titled “步骤 4:进入「自媒体之路」,左侧是日更大纲。”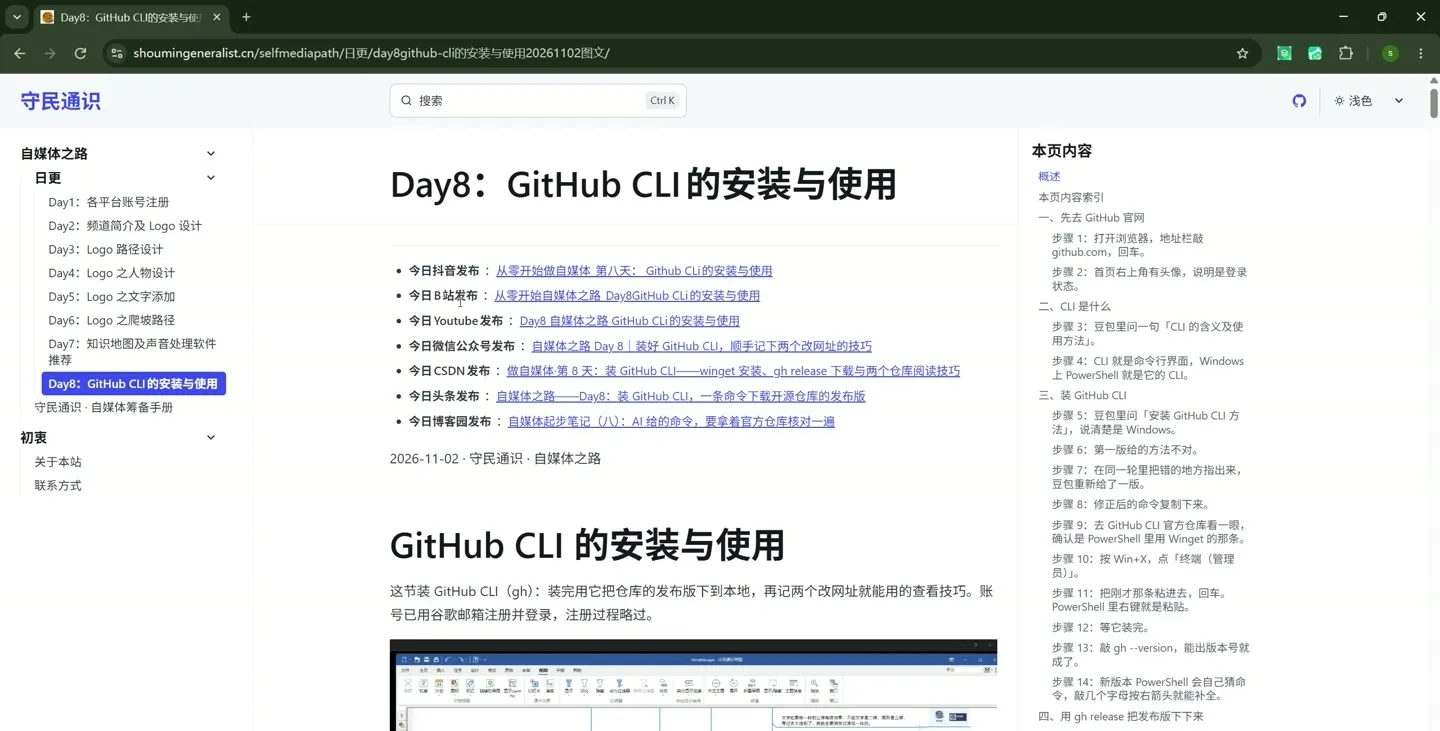
文章页左侧的大纲列表
步骤 5:点大纲里的 Day8 那篇,正文里有各平台发布链接。
Section titled “步骤 5:点大纲里的 Day8 那篇,正文里有各平台发布链接。”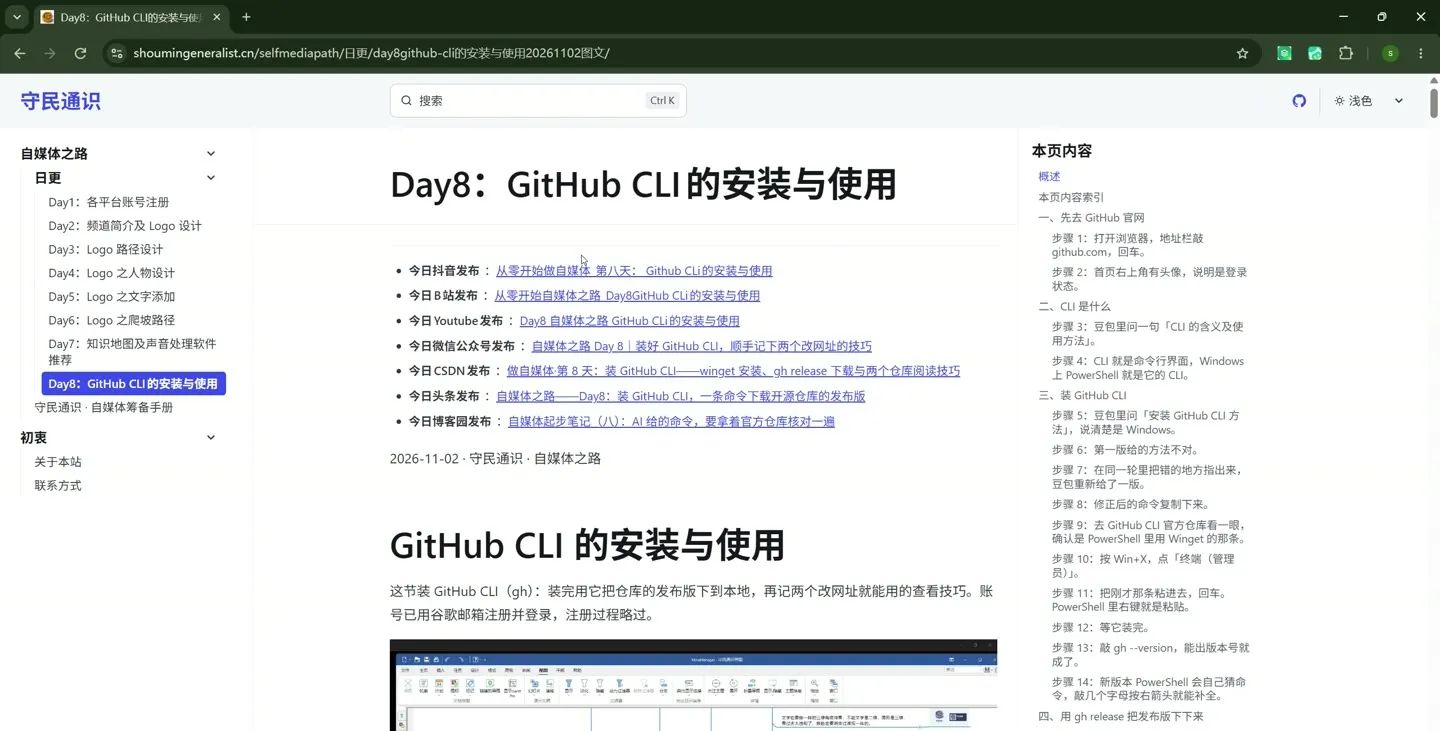
文章正文里的发布链接
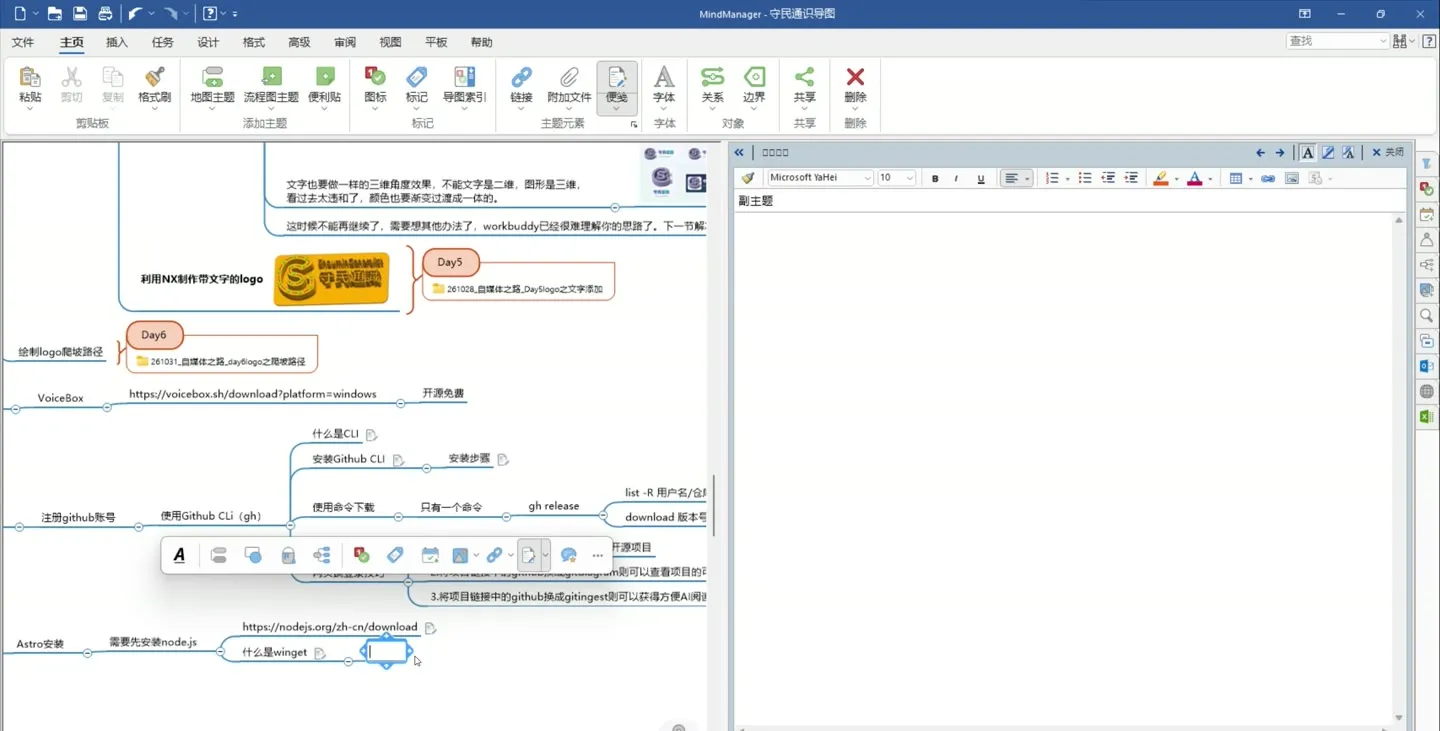
步骤 6:把网址挂到导图的「守民通识网址」节点下。
Section titled “步骤 6:把网址挂到导图的「守民通识网址」节点下。”https://www.shoumingeneralist.cn/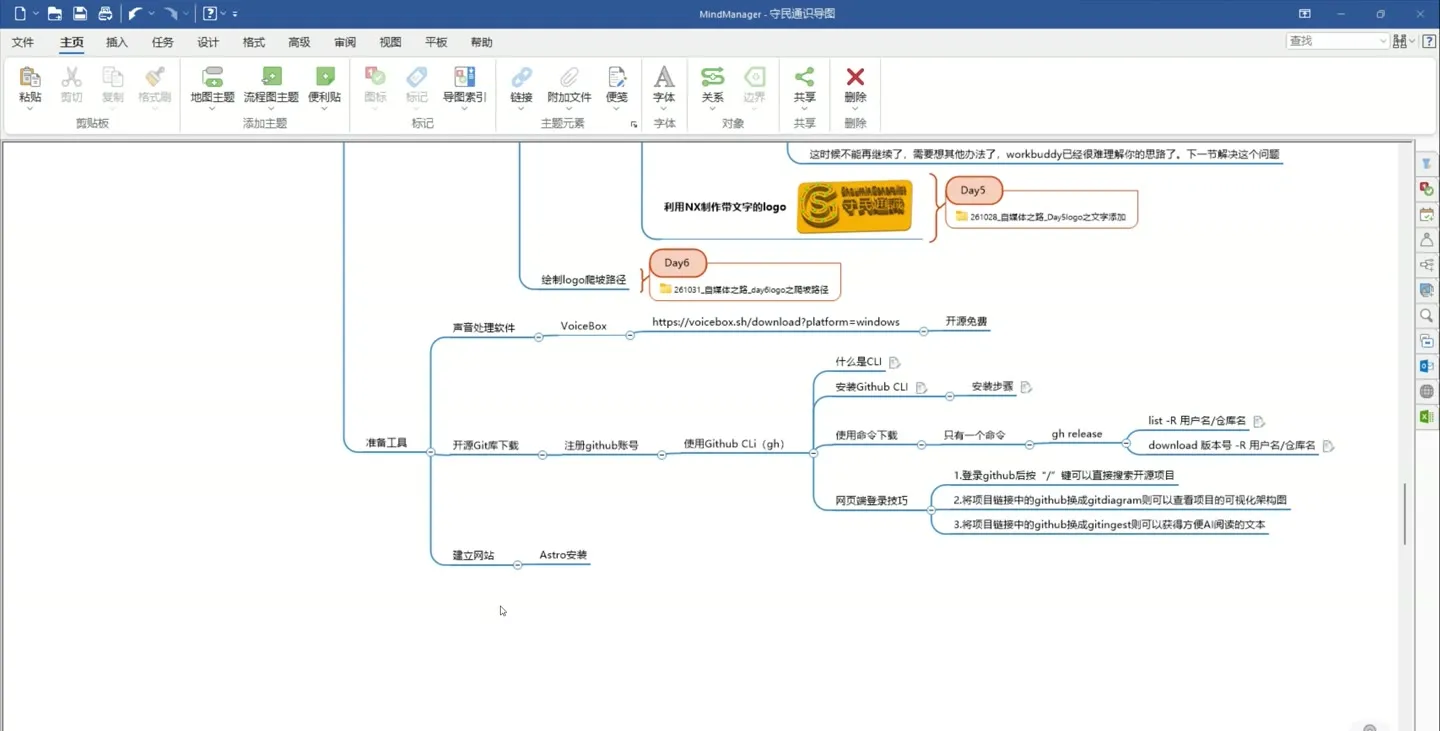
导图里记下站点网址
二、Astro 安装文档
Section titled “二、Astro 安装文档”安装文档在 docs.astro.build/zh-cn/install-and-setup/,前提条件写着 Node.js 22.12.0 以上。
步骤 7:新标签页,搜索框敲 astro,回车。
Section titled “步骤 7:新标签页,搜索框敲 astro,回车。”
搜索框里输入 astro
步骤 8:点搜索结果进 Astro 官网的 Getting started。
Section titled “步骤 8:点搜索结果进 Astro 官网的 Getting started。”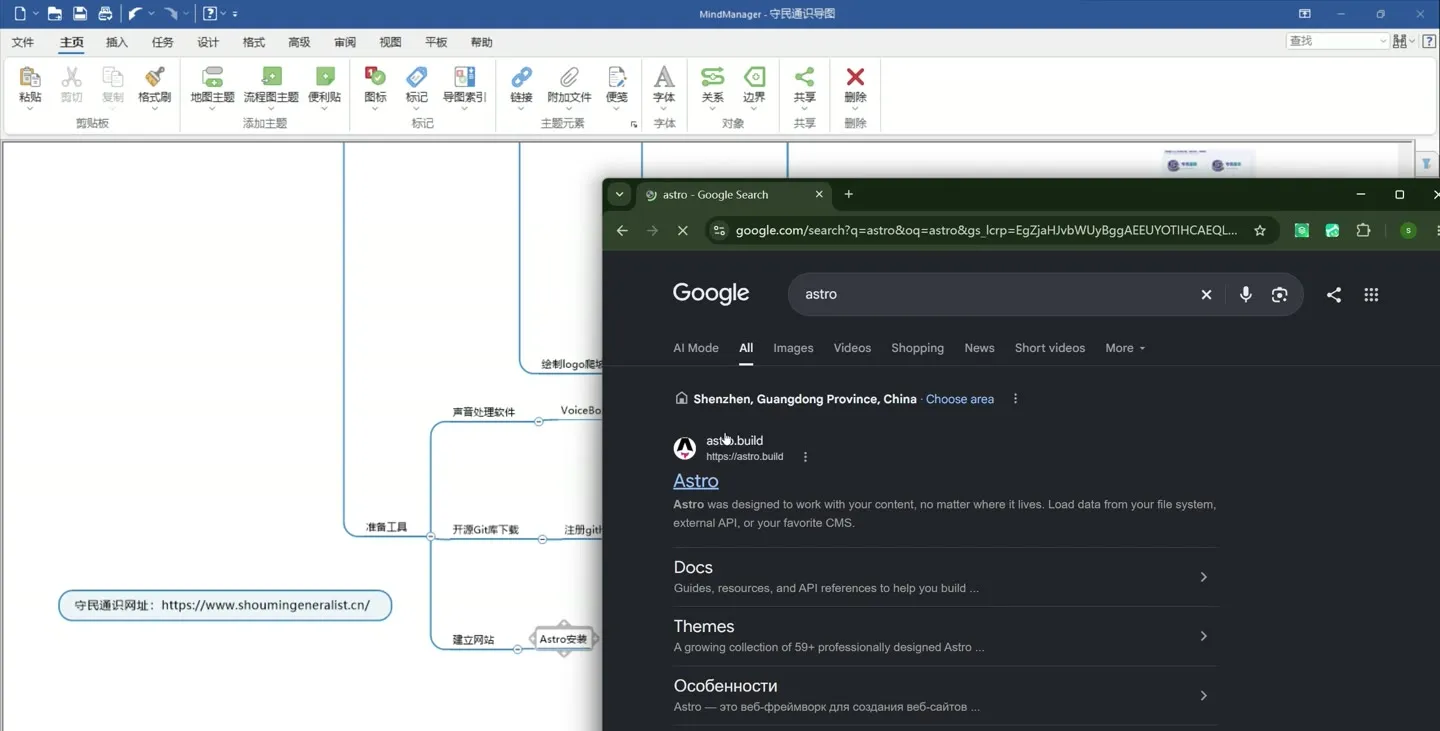
搜索结果里的 Astro 官网
步骤 9:点右上角的 English,把文档语言切成「简体中文」。
Section titled “步骤 9:点右上角的 English,把文档语言切成「简体中文」。”切完左边的目录也跟着变中文。
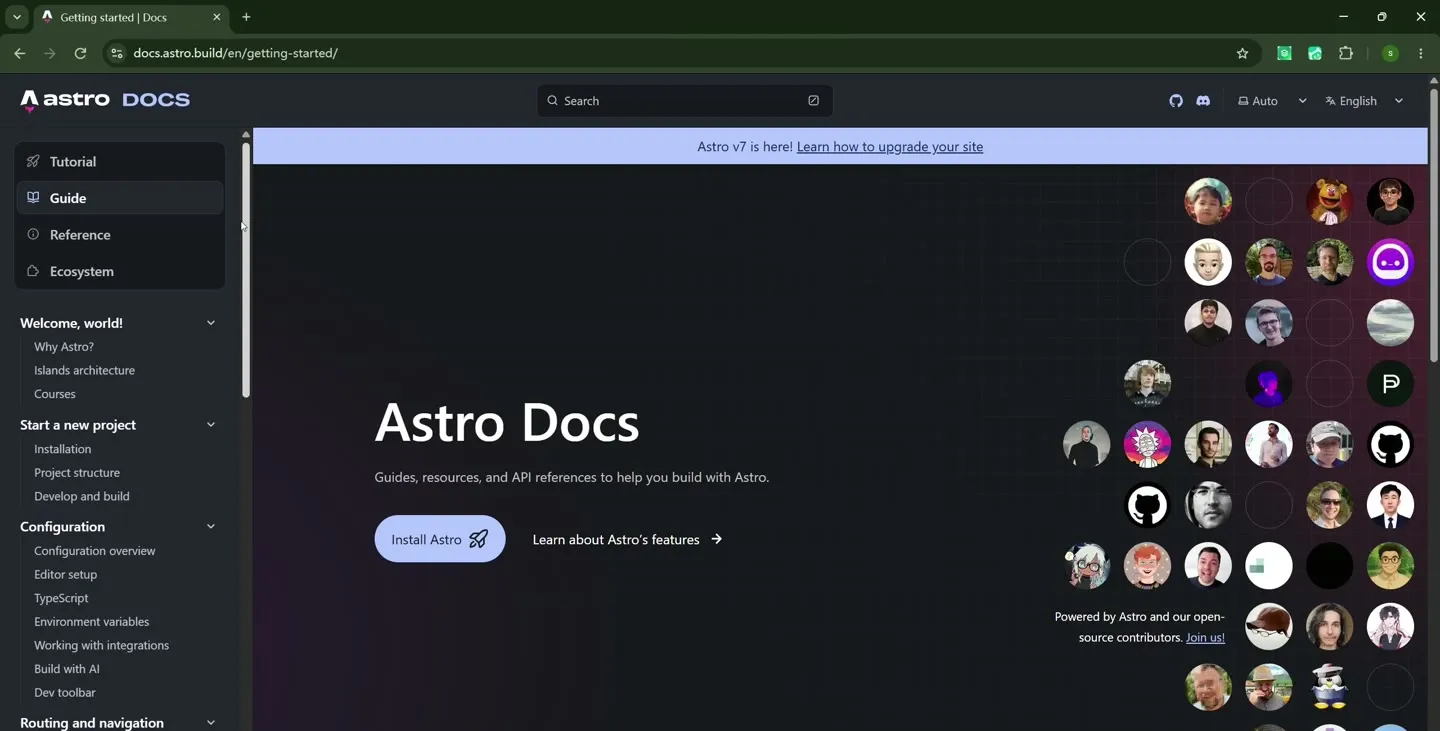
文档页右上角的语言控件
步骤 10:中文文档首页,左侧栏是「开始新项目 → 安装」。
Section titled “步骤 10:中文文档首页,左侧栏是「开始新项目 → 安装」。”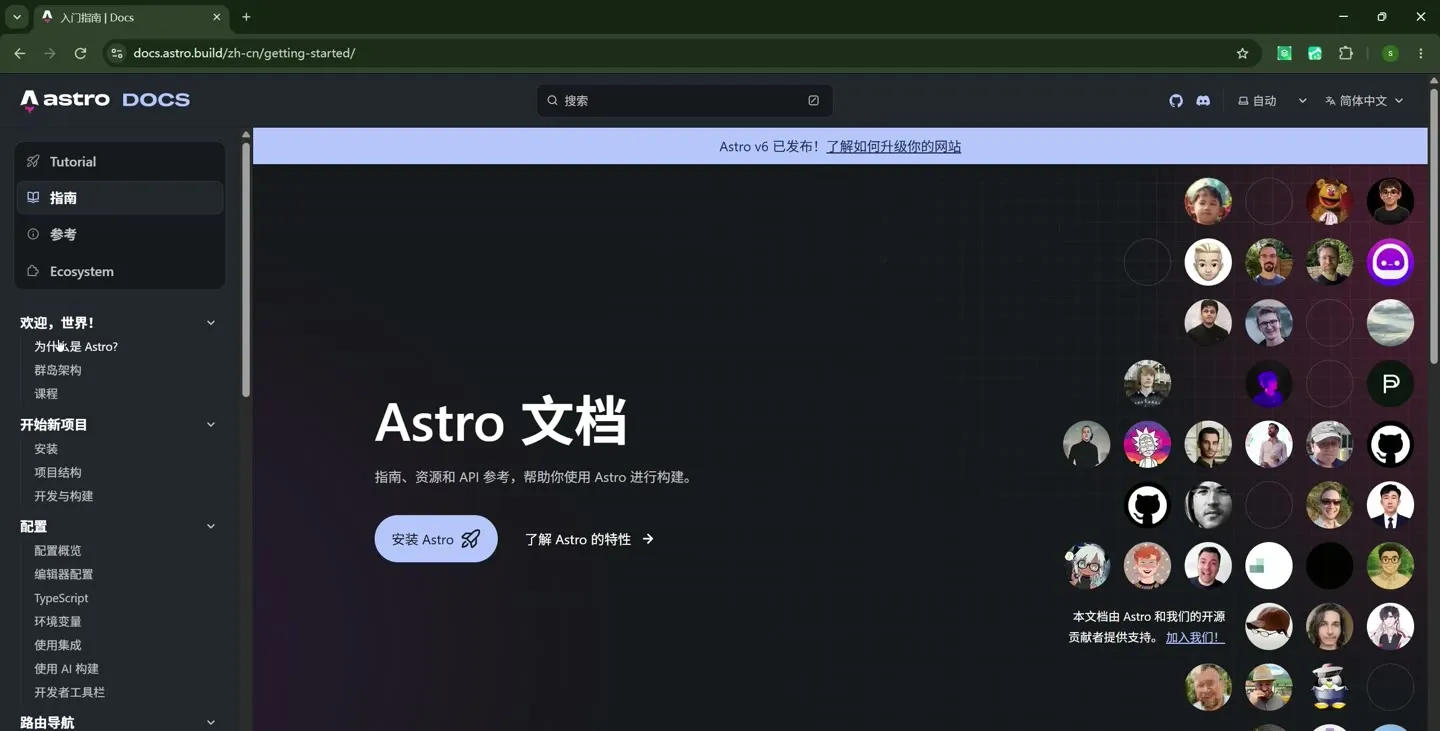
中文文档首页
步骤 11:点左侧「安装」,看「前提条件」那一块。
Section titled “步骤 11:点左侧「安装」,看「前提条件」那一块。”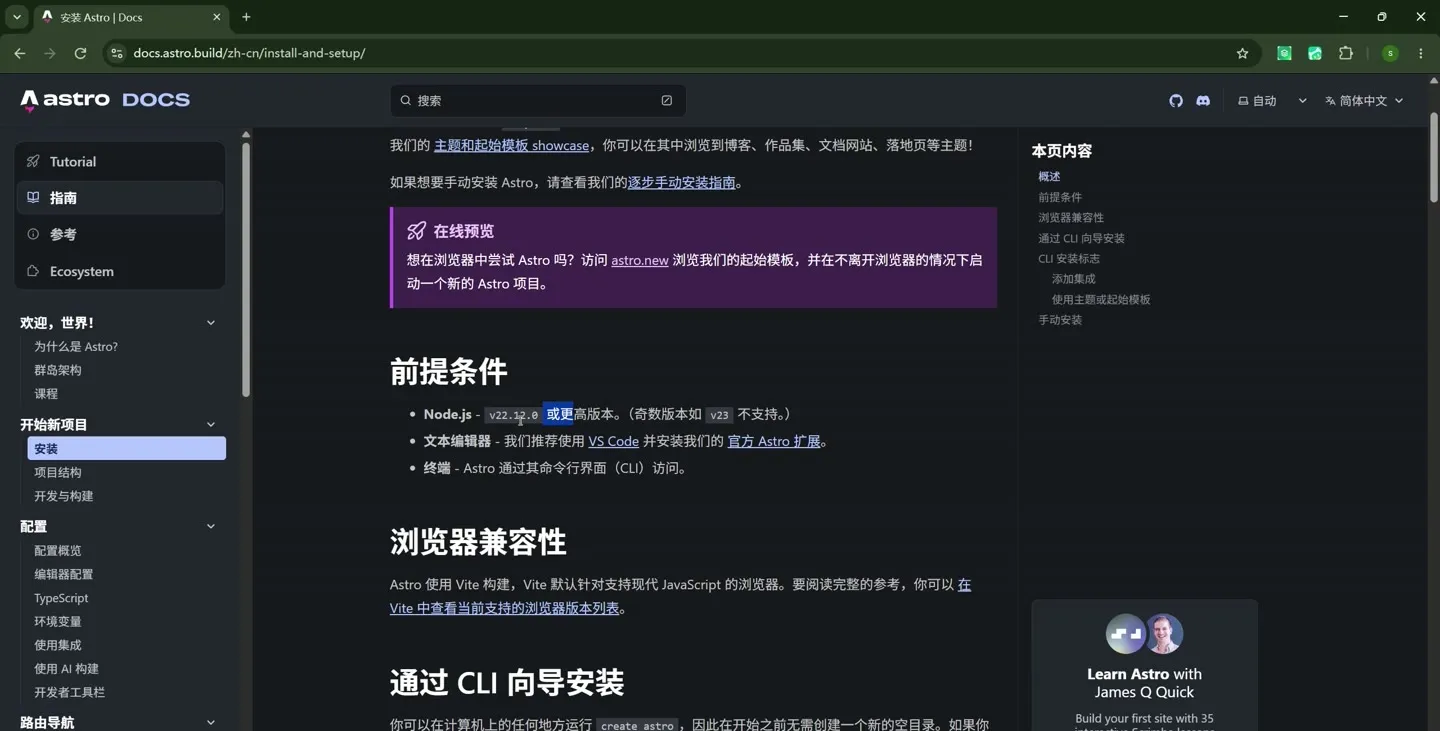
安装页的前提条件
步骤 12:回导图,在「Astro安装」下接一条「需要先安装node.js」。
Section titled “步骤 12:回导图,在「Astro安装」下接一条「需要先安装node.js」。”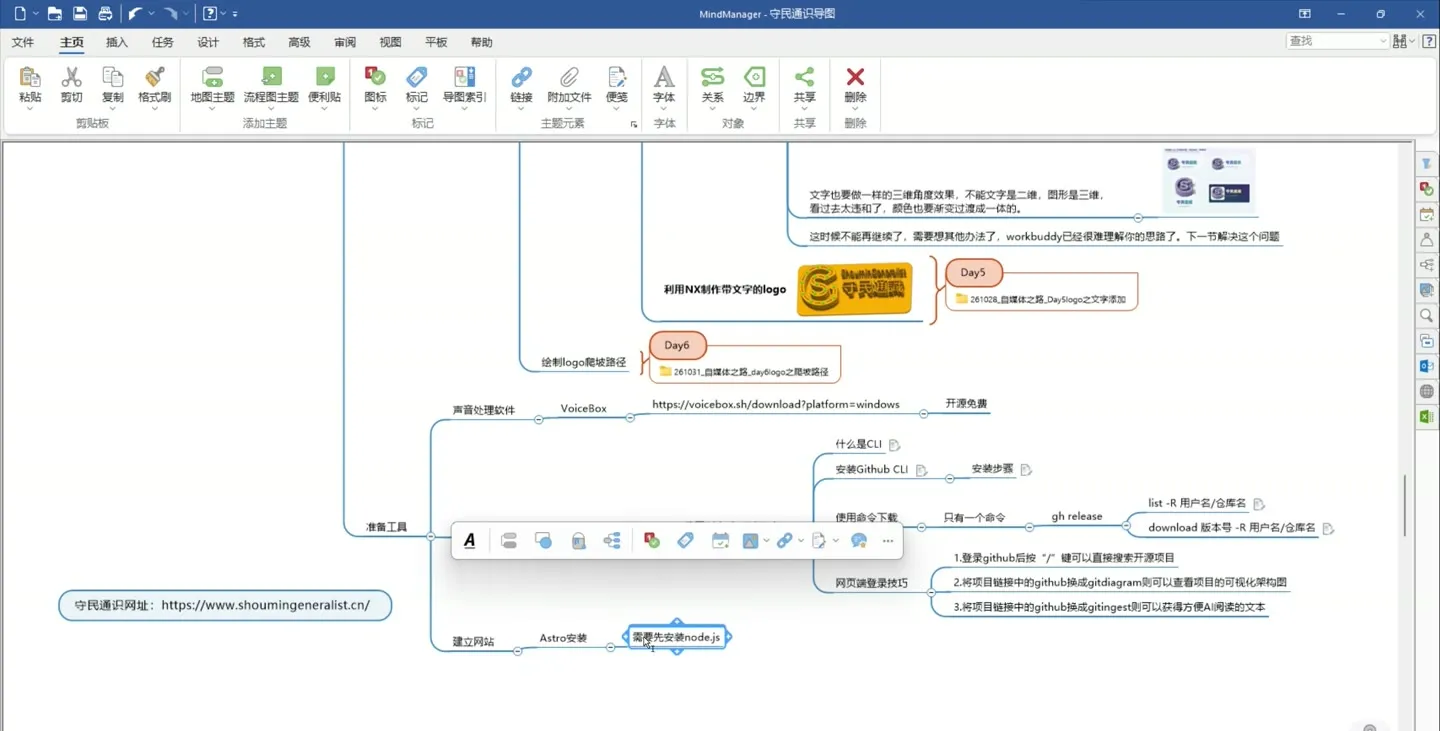
导图里接出安装前提
三、Node.js 下载页与 winget
Section titled “三、Node.js 下载页与 winget”nodejs.org/zh-cn/download 默认选的是 Windows + fnm + npm + Node.js v26.13.0 (LTS)。
步骤 13:新标签页敲 nodejs,回车,点结果进下载页。
Section titled “步骤 13:新标签页敲 nodejs,回车,点结果进下载页。”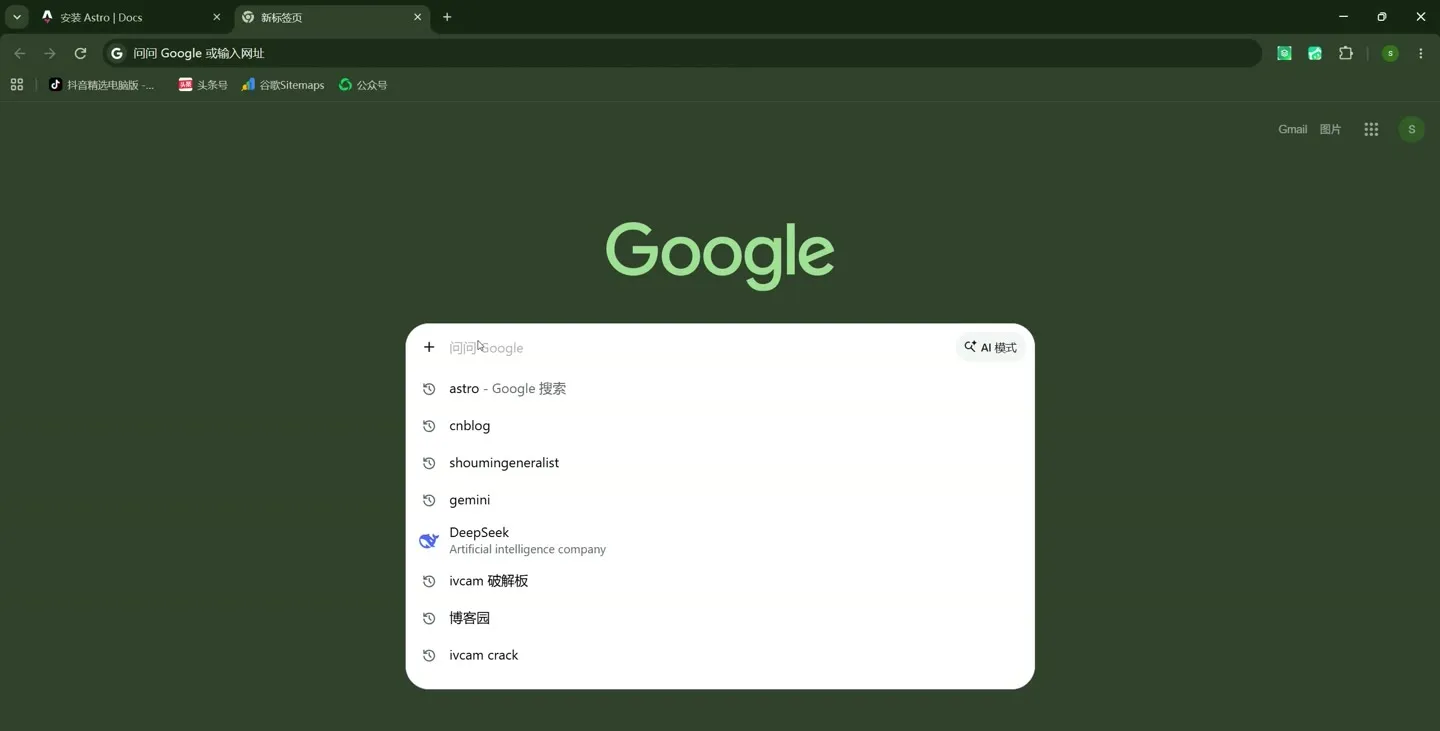
搜索 nodejs
步骤 14:英文版页面,版本栏是 v26.13.0 (LTS)。
Section titled “步骤 14:英文版页面,版本栏是 v26.13.0 (LTS)。”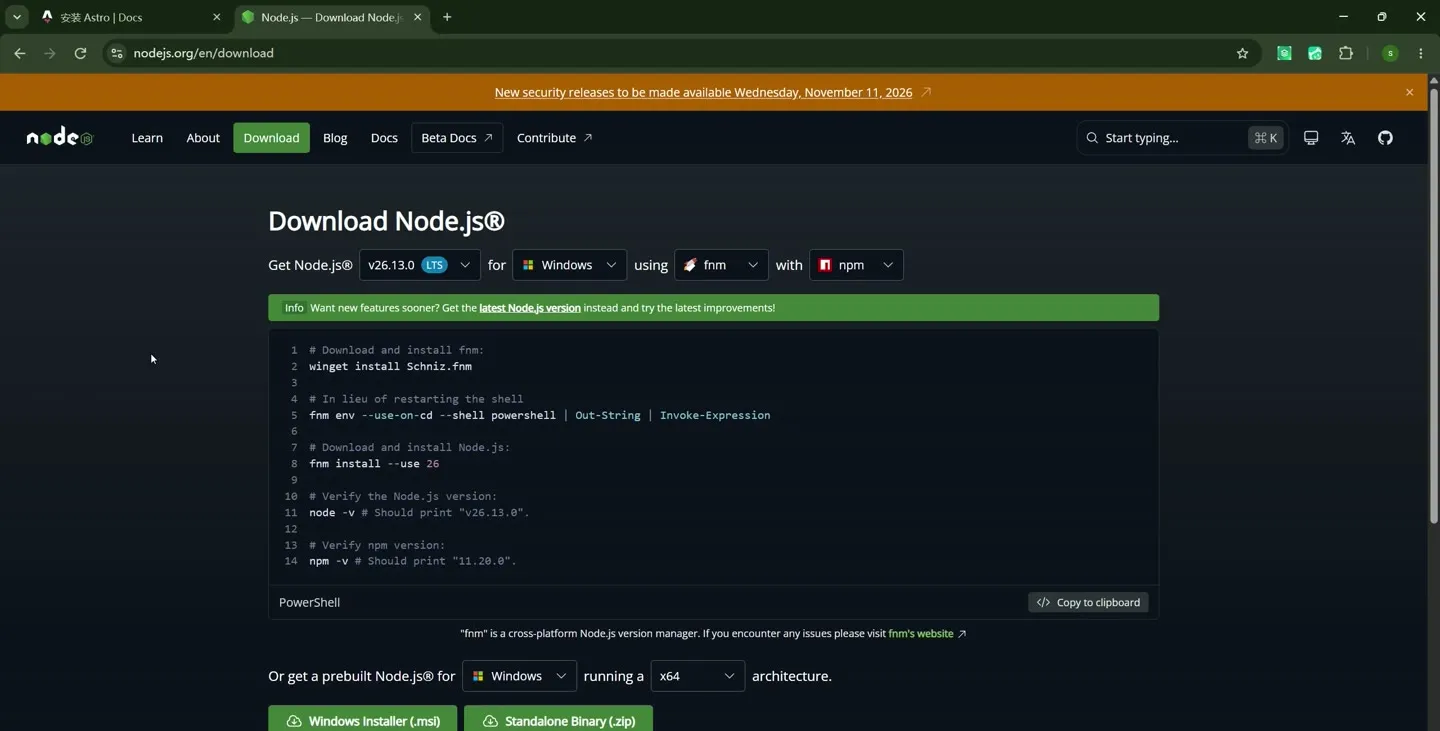
英文下载页,版本 v26.13.0
步骤 15:切到「简体中文」,网址变成 /zh-cn/download。
Section titled “步骤 15:切到「简体中文」,网址变成 /zh-cn/download。”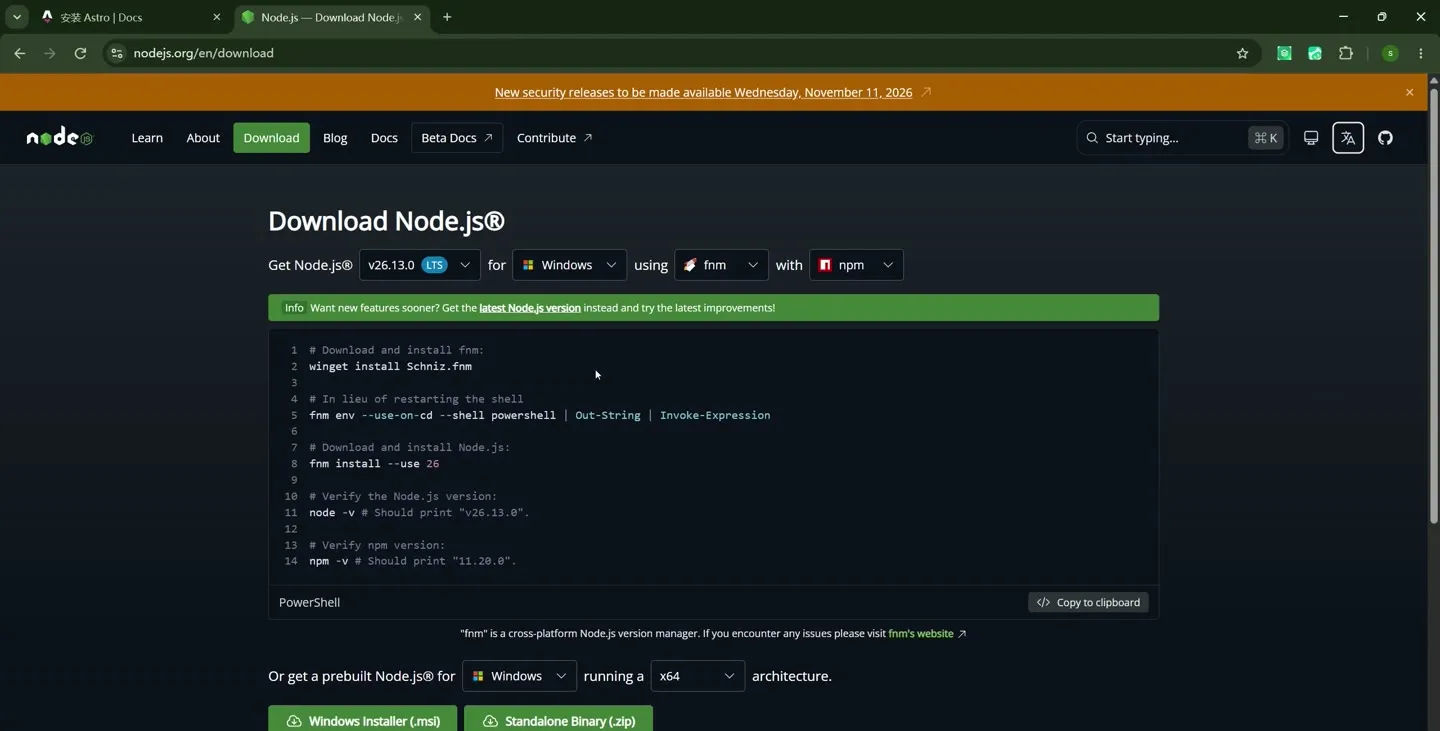
中文下载页
步骤 16:命令块给四行,走 fnm 装 Node.js。
Section titled “步骤 16:命令块给四行,走 fnm 装 Node.js。”winget install Schniz.fnmfnm install 26node -vnpm -v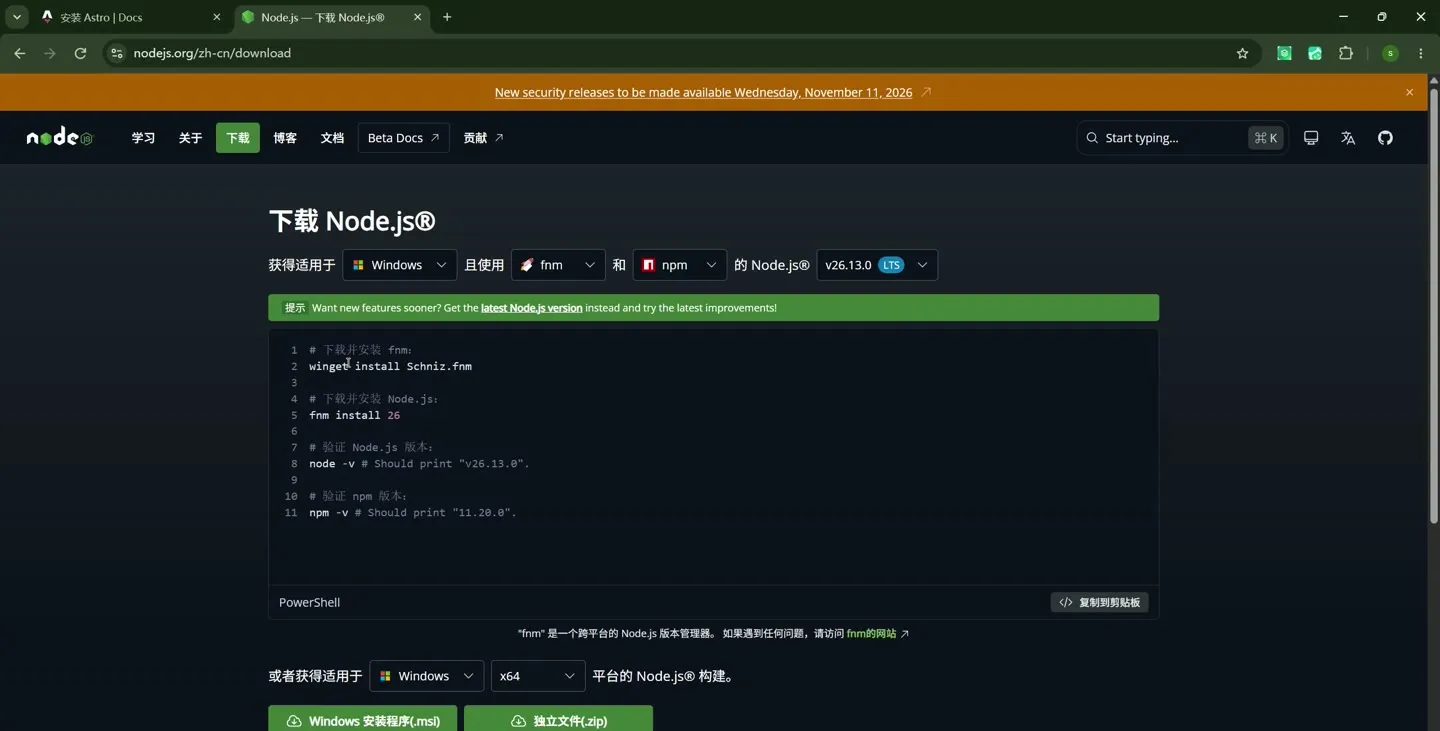
下载页给出的 PowerShell 命令
步骤 17:点命令块右下角「复制到剪贴板」。
Section titled “步骤 17:点命令块右下角「复制到剪贴板」。”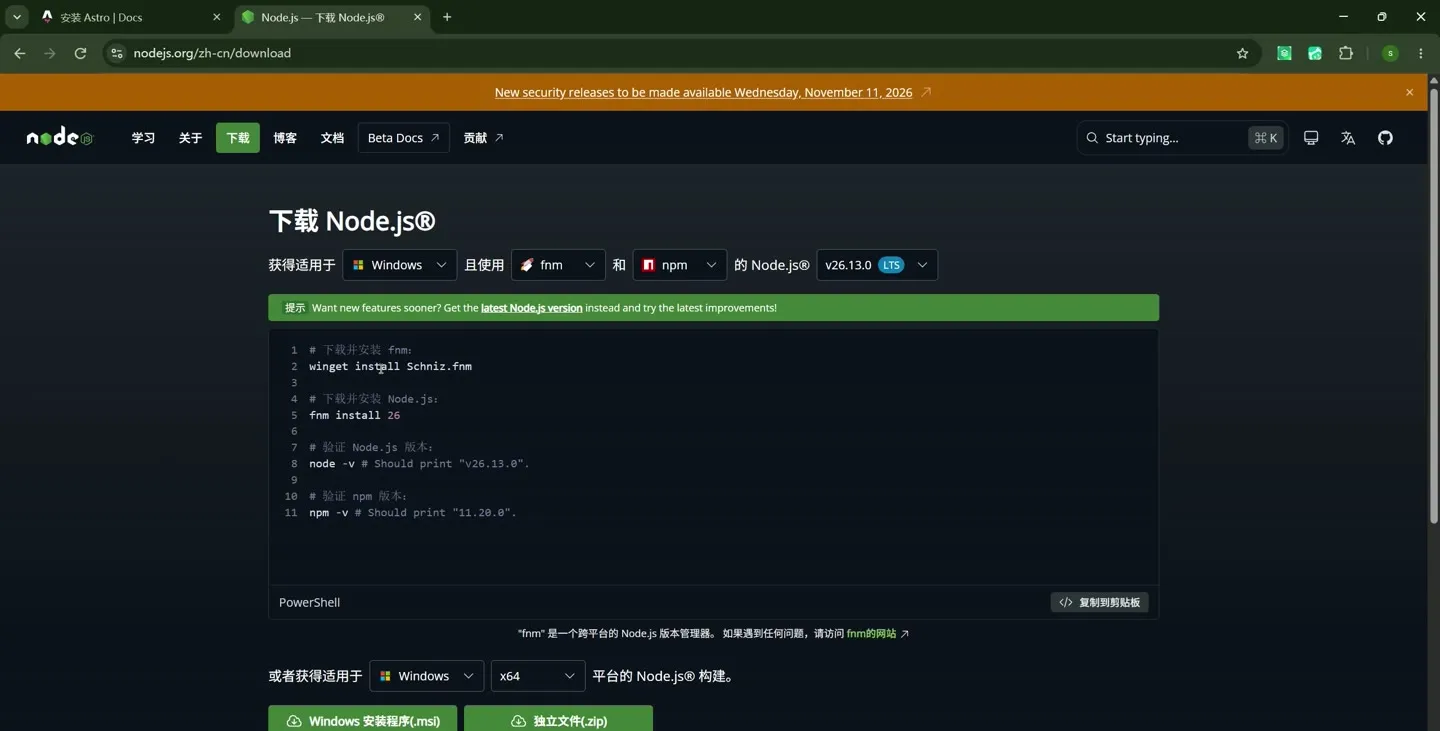
复制到剪贴板按钮
技巧:两行分开粘,先装 fnm,再让它装 26。
步骤 18:页面下面还有「Windows 安装程序(.msi)」和「独立文件(.zip)」两个绿色按钮。
Section titled “步骤 18:页面下面还有「Windows 安装程序(.msi)」和「独立文件(.zip)」两个绿色按钮。”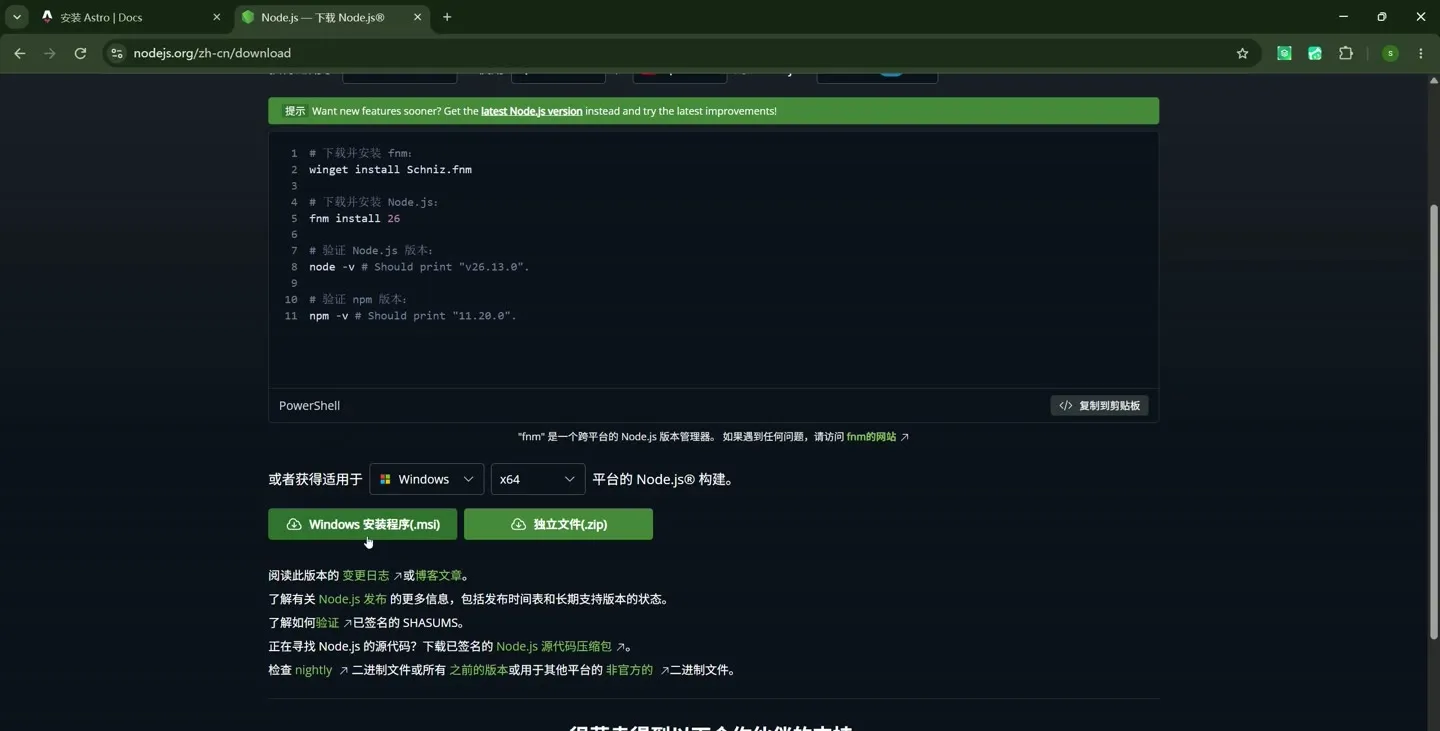
页面下方的两个安装包按钮
步骤 19:回导图,把 https://nodejs.org/zh-cn/download 挂到「需要先安装node.js」下。
Section titled “步骤 19:回导图,把 https://nodejs.org/zh-cn/download 挂到「需要先安装node.js」下。”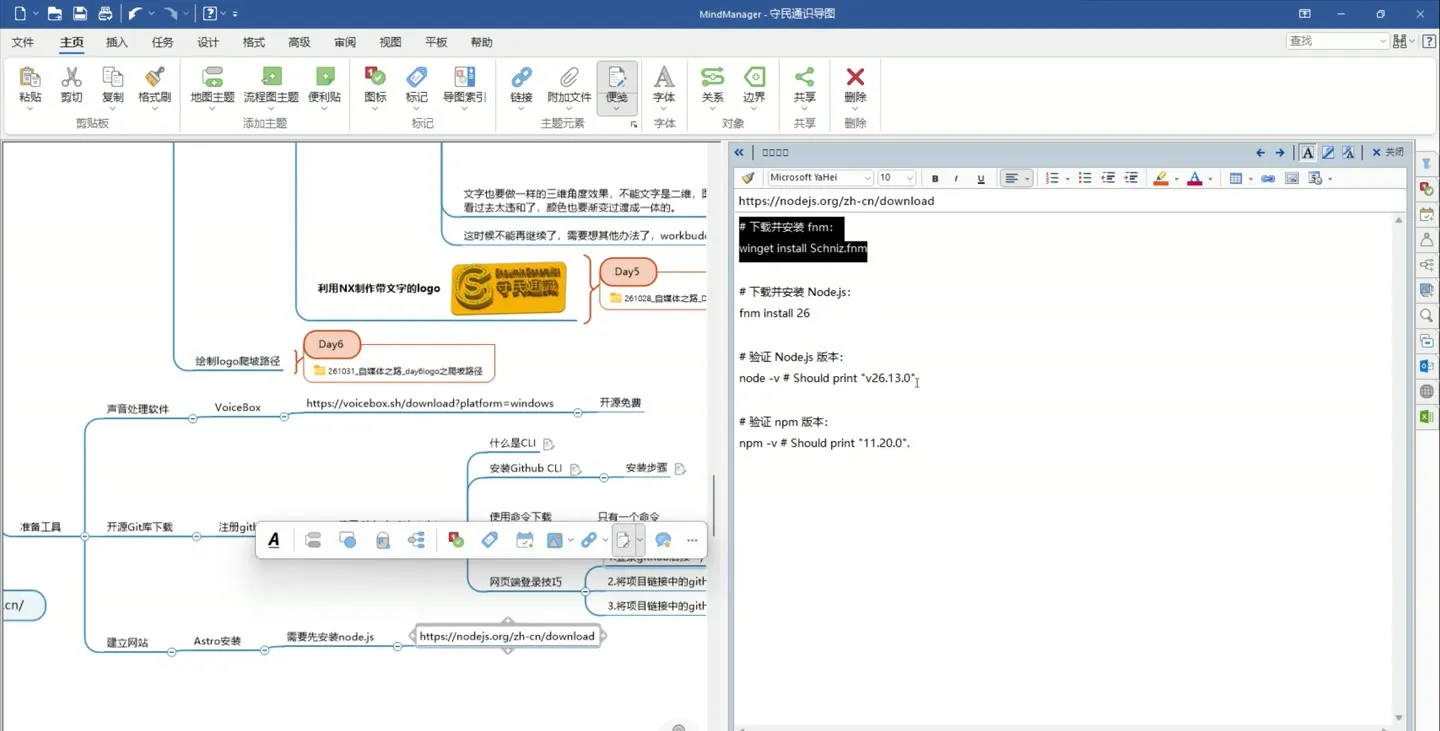
导图里记下下载页地址
步骤 20:豆包里搜「什么是 winget」,复制回来的定义。
Section titled “步骤 20:豆包里搜「什么是 winget」,复制回来的定义。”winget 是微软官方出品的 Windows 命令行包管理器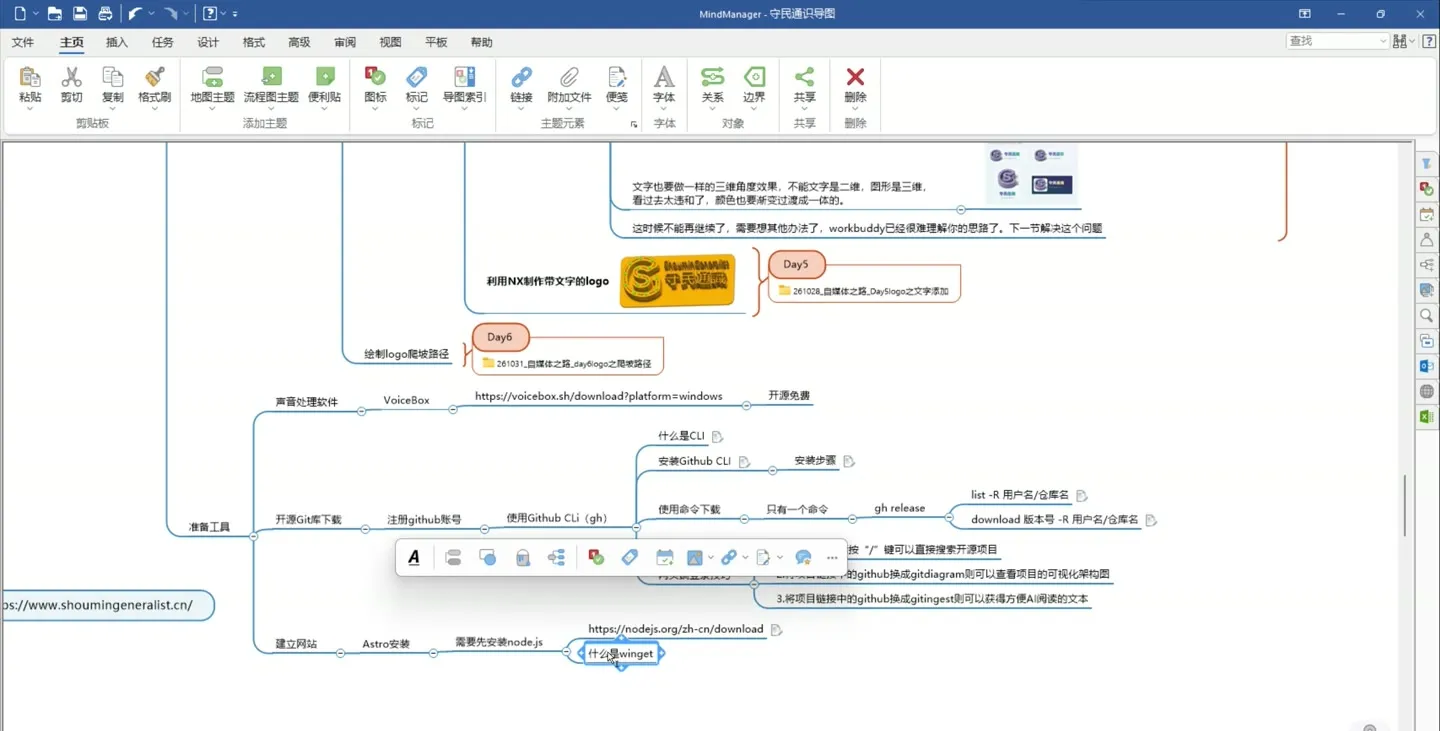
豆包里查 winget
步骤 21:把定义挂到导图的「什么是winget」节点下。
Section titled “步骤 21:把定义挂到导图的「什么是winget」节点下。”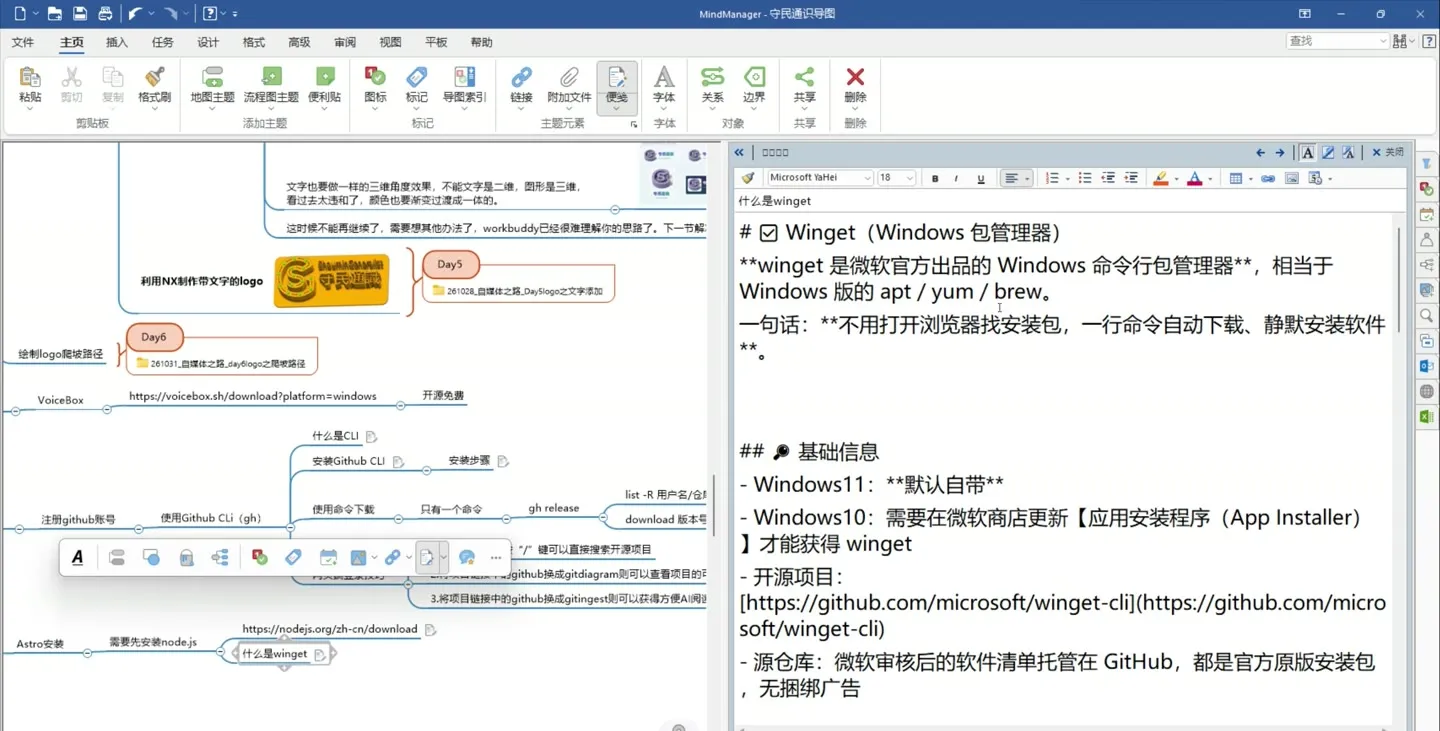
定义与导图里的 winget 节点
步骤 22:顺手把三条常用命令抄进笔记。
Section titled “步骤 22:顺手把三条常用命令抄进笔记。”winget --versionwinget search nodewinget install OpenJS.NodeJS.LTS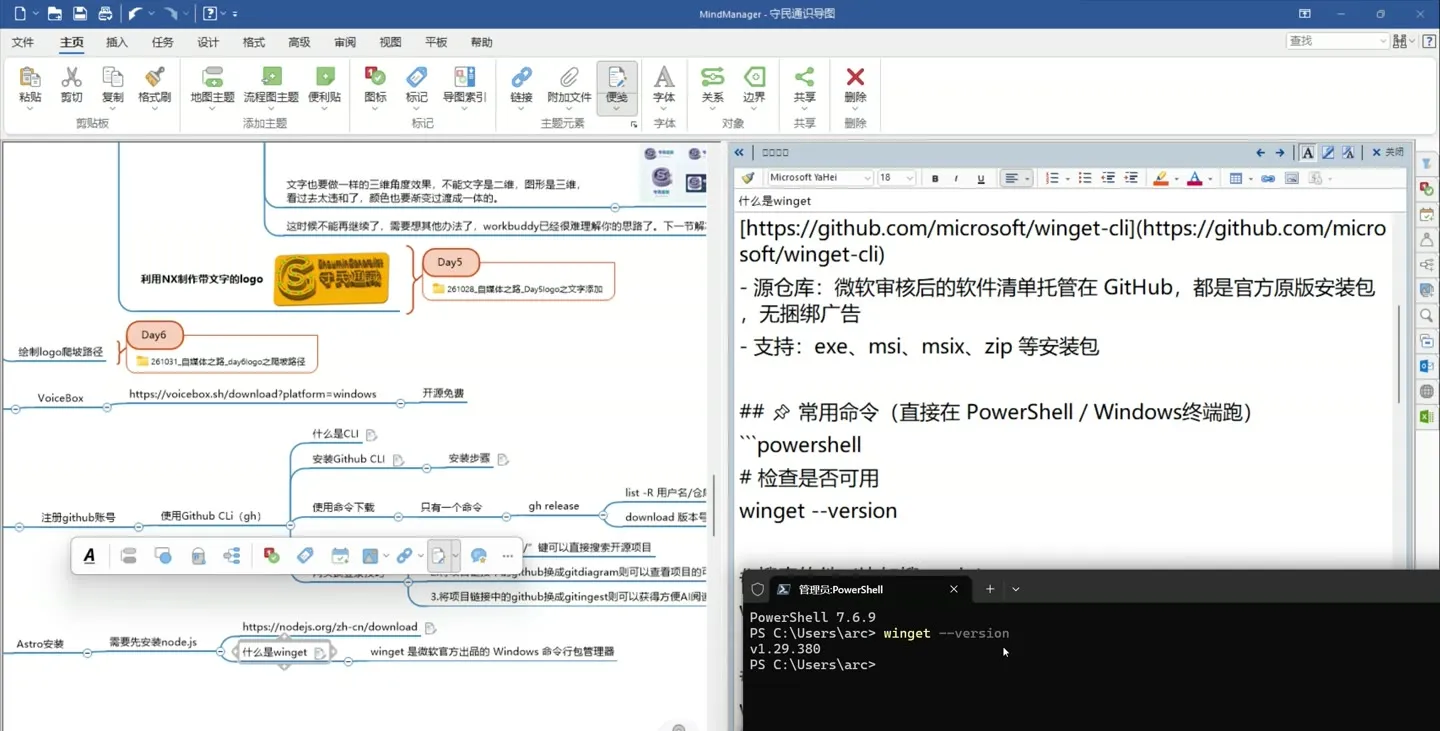
笔记里的 winget 常用命令
四、PowerShell 里验版本、装 Node.js 26
Section titled “四、PowerShell 里验版本、装 Node.js 26”Win+X 打开终端管理员,winget 就在这个窗口里跑。
步骤 23:按 Win+X,点「终端管理员」。
Section titled “步骤 23:按 Win+X,点「终端管理员」。”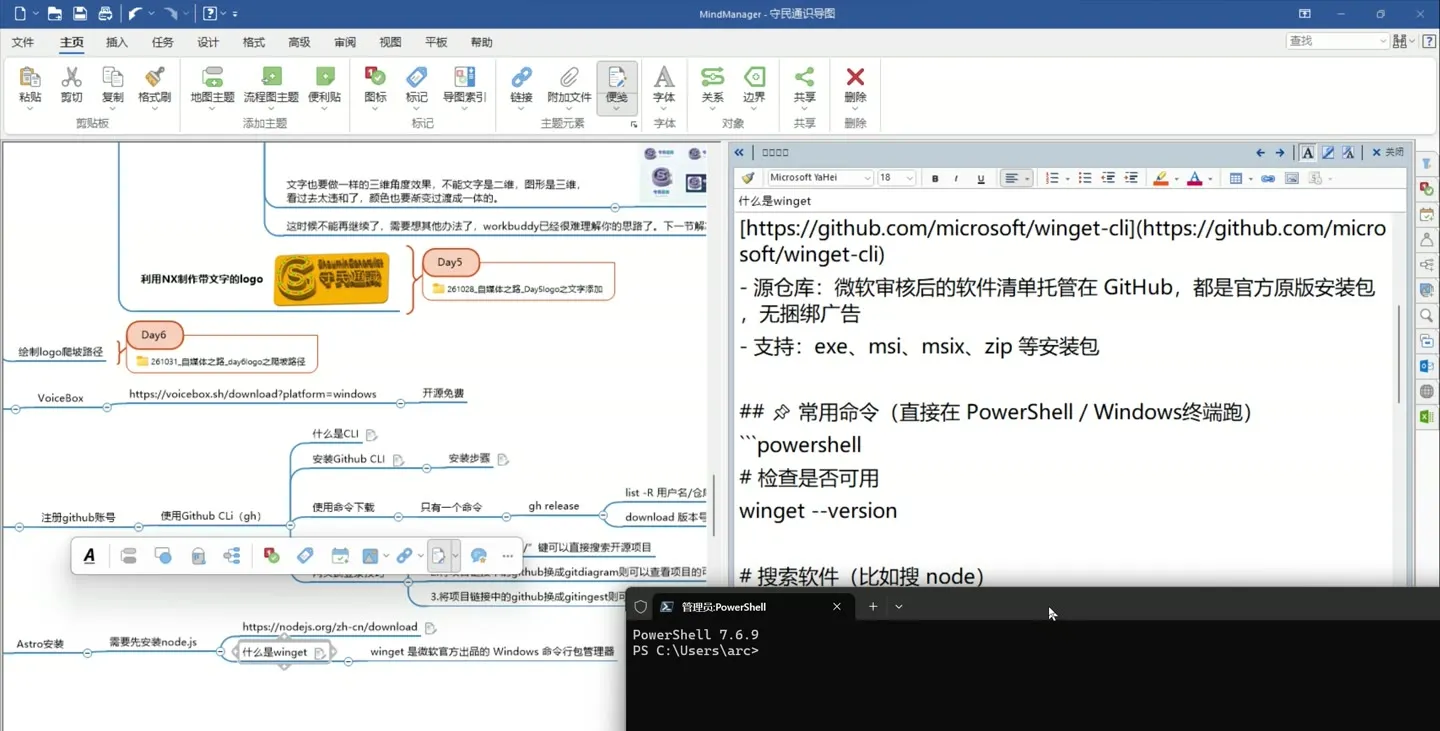
打开的终端管理员窗口
步骤 24:敲 winget --version,回车,返回 v1.29.380。
Section titled “步骤 24:敲 winget --version,回车,返回 v1.29.380。”winget --version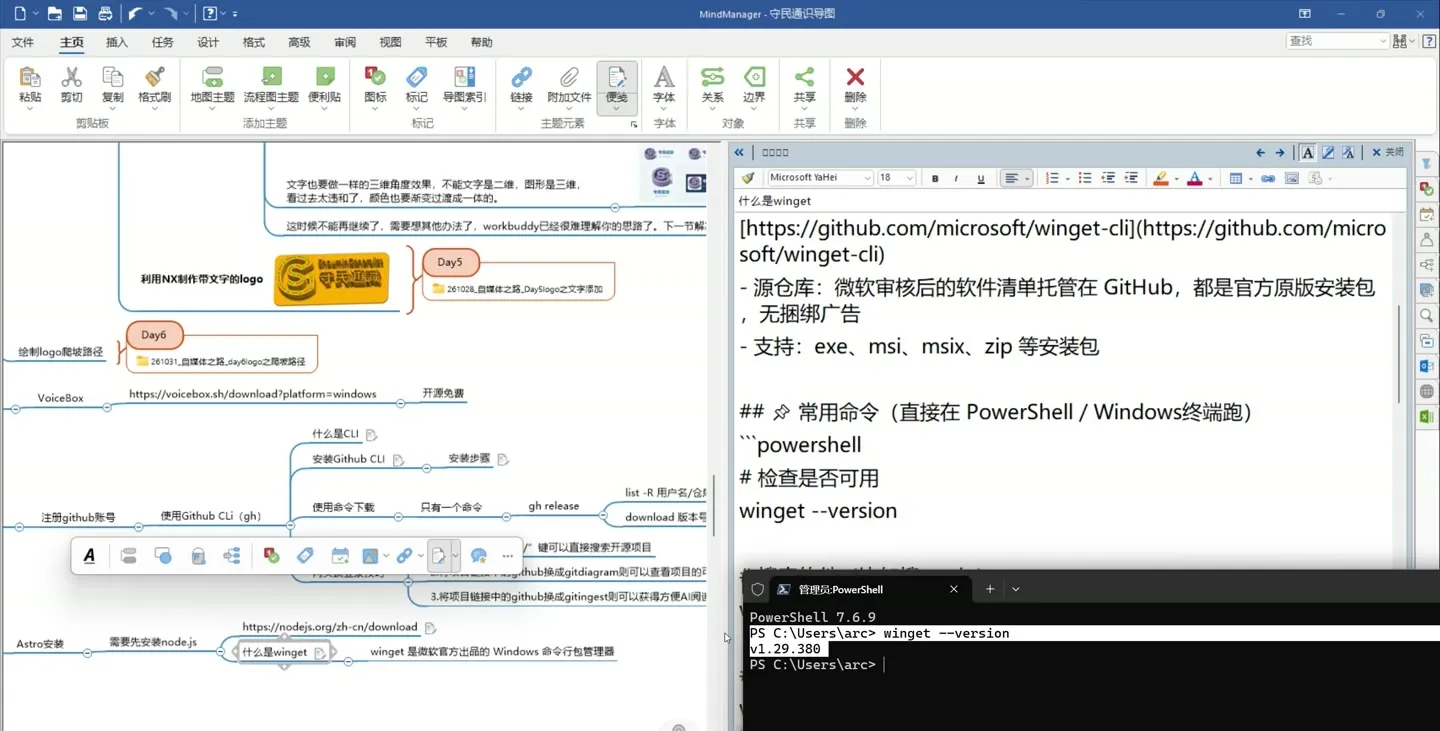
winget 返回版本号
步骤 25:敲 winget search node,回车,等联网返回。
Section titled “步骤 25:敲 winget search node,回车,等联网返回。”winget search node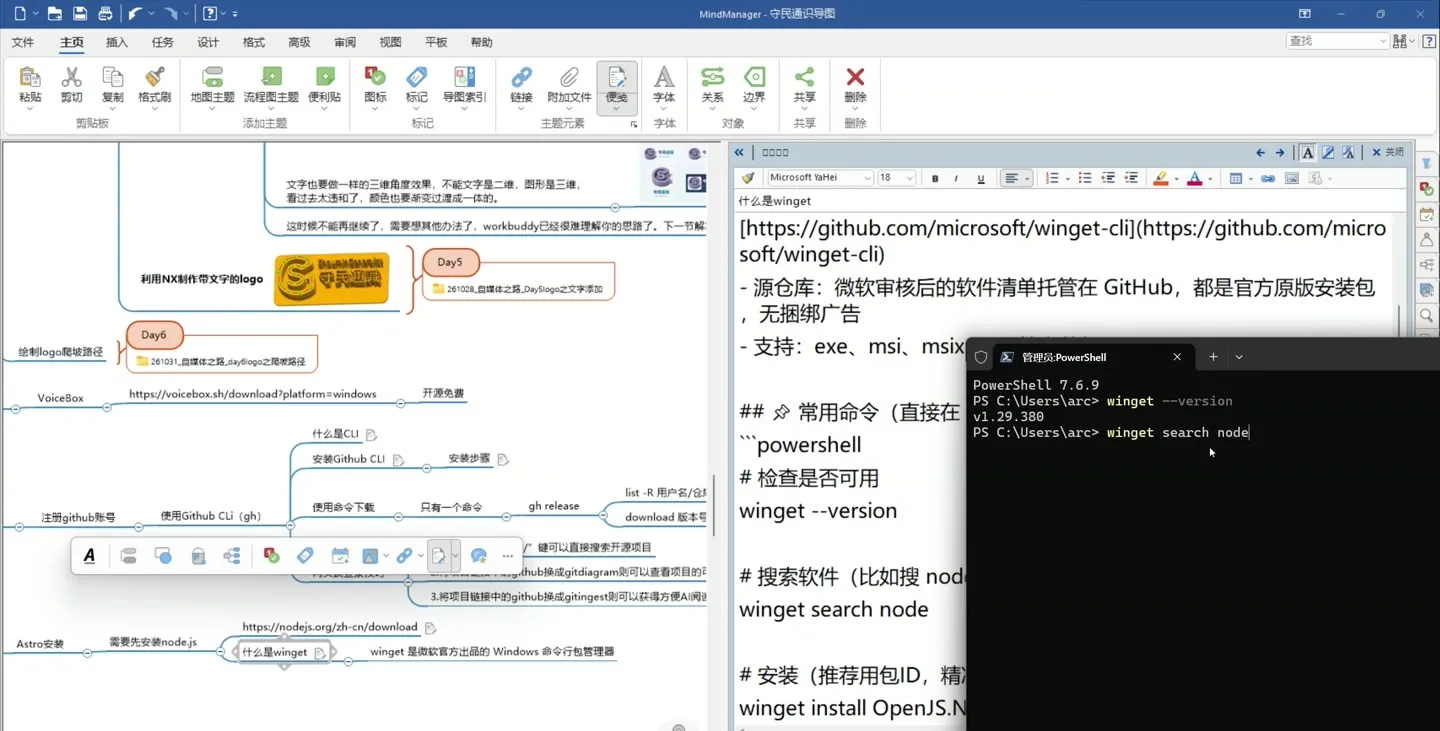
输入 winget search node
步骤 26:结果一长串,最高到 OpenJS.NodeJS.23。
Section titled “步骤 26:结果一长串,最高到 OpenJS.NodeJS.23。”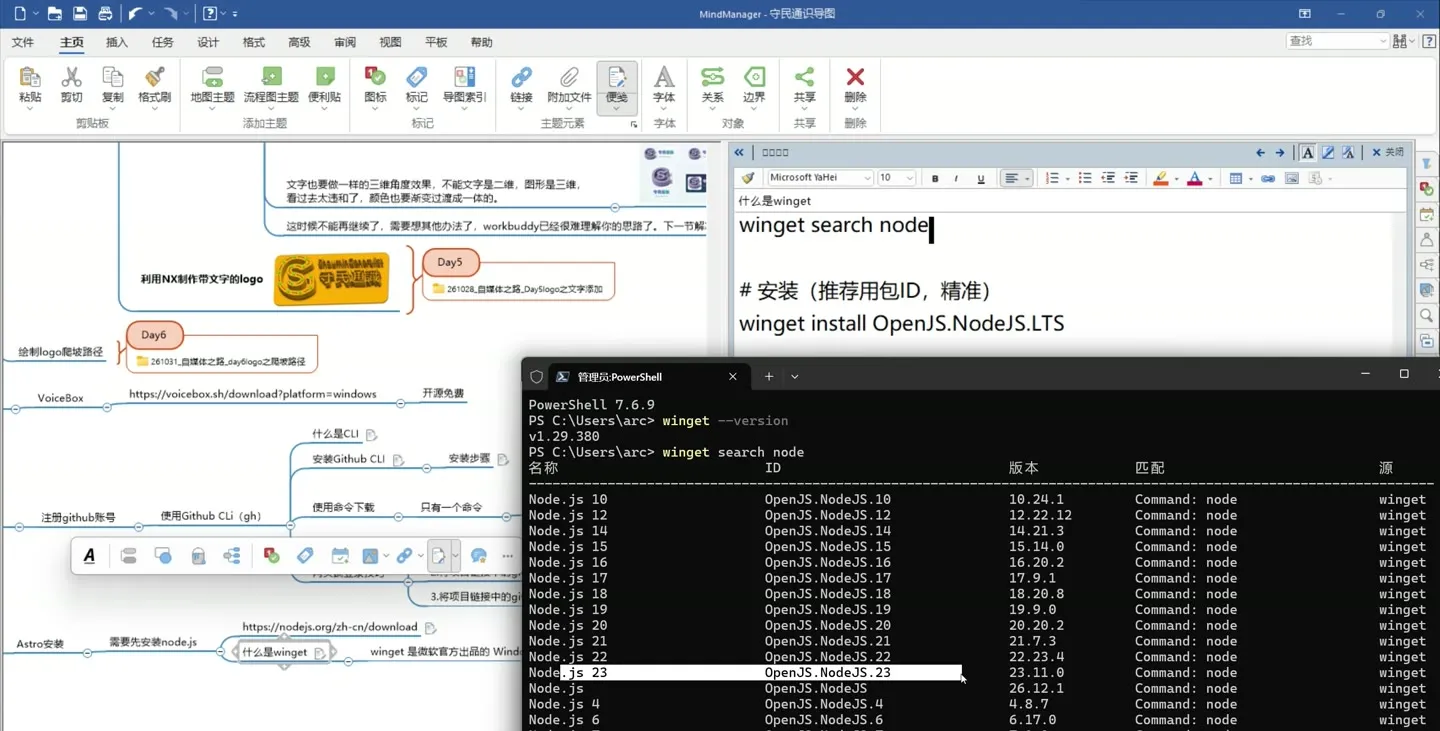
winget 搜出来的包列表
步骤 27:回下载页看,LTS 是 v26.13.0,命令里写 26。
Section titled “步骤 27:回下载页看,LTS 是 v26.13.0,命令里写 26。”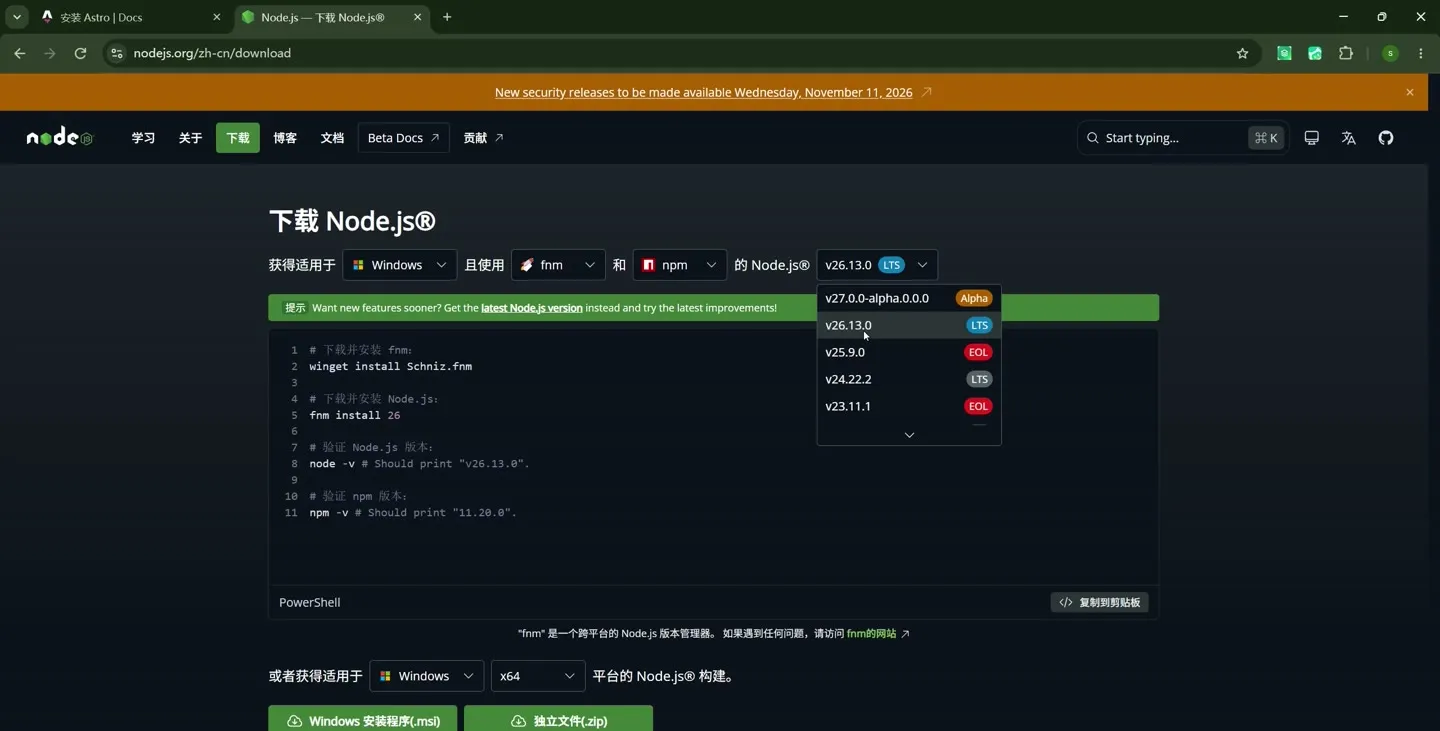
下载页上的 LTS 版本
坑:winget 源里的版本和官网 LTS 不一定对齐,按官网的偶数版来。
步骤 28:敲 Clear,回车,把屏幕清干净。
Section titled “步骤 28:敲 Clear,回车,把屏幕清干净。”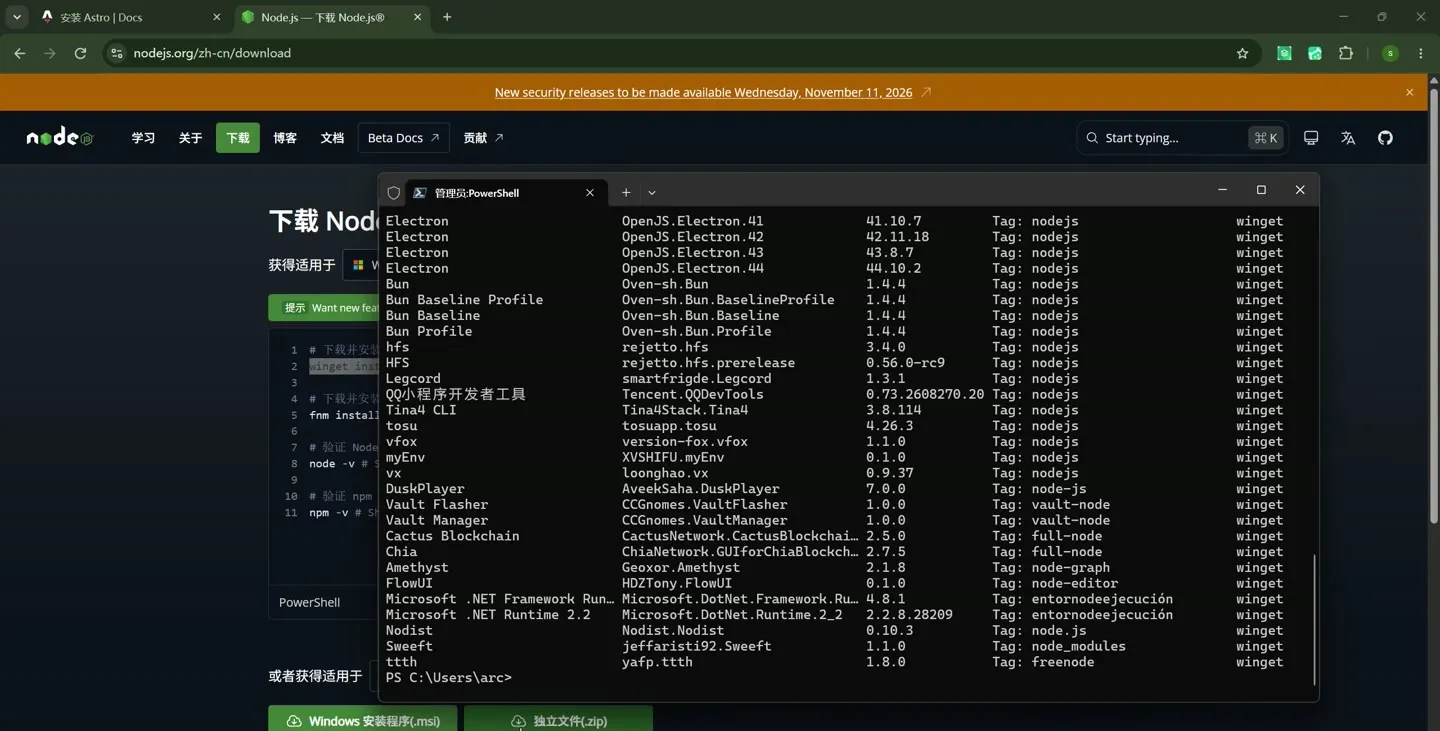
清屏前的搜索结果
步骤 29:终端里右键粘贴 winget install Schniz.fnm,回车。
Section titled “步骤 29:终端里右键粘贴 winget install Schniz.fnm,回车。”winget install Schniz.fnm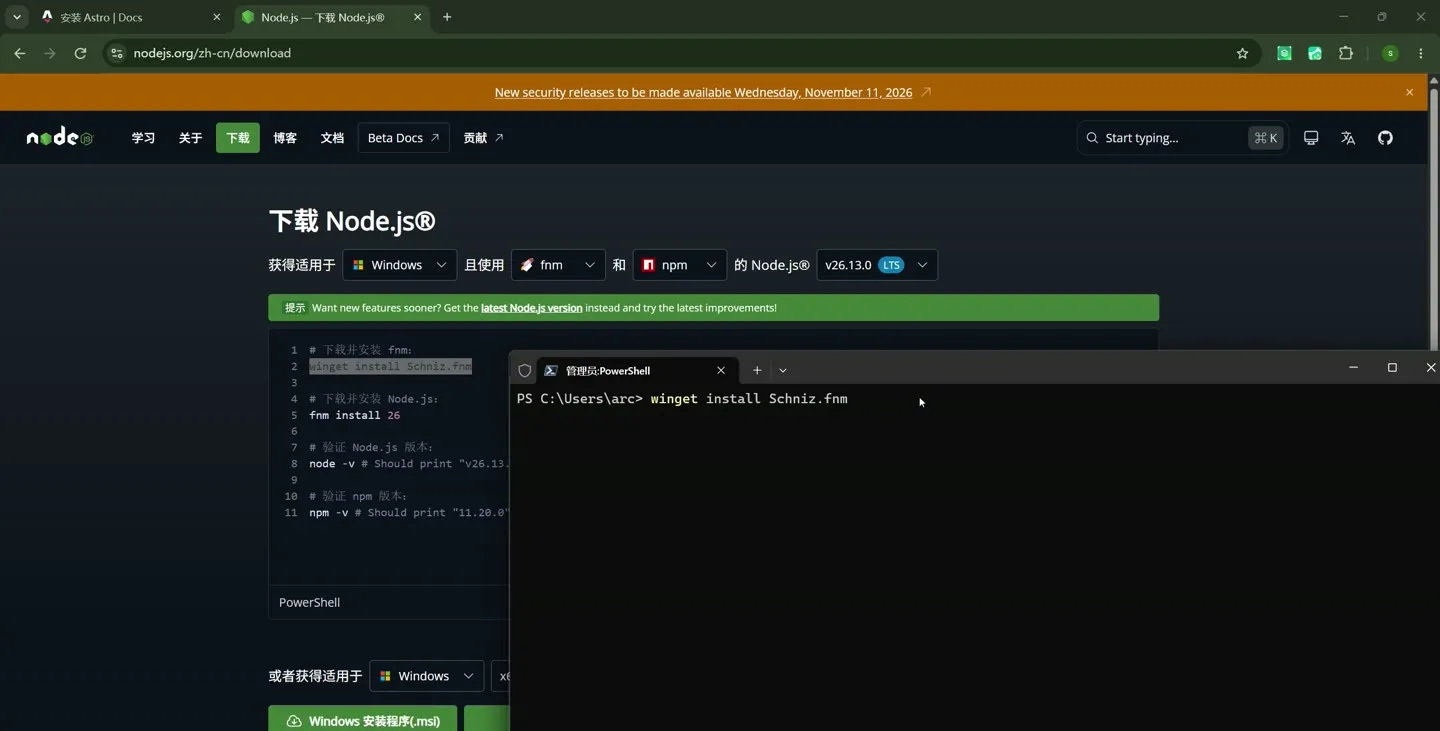
粘贴进终端的安装命令
步骤 30:返回「找不到可用的升级」,fnm 之前装过。
Section titled “步骤 30:返回「找不到可用的升级」,fnm 之前装过。”装过就跳过这条,接着往下装 26。
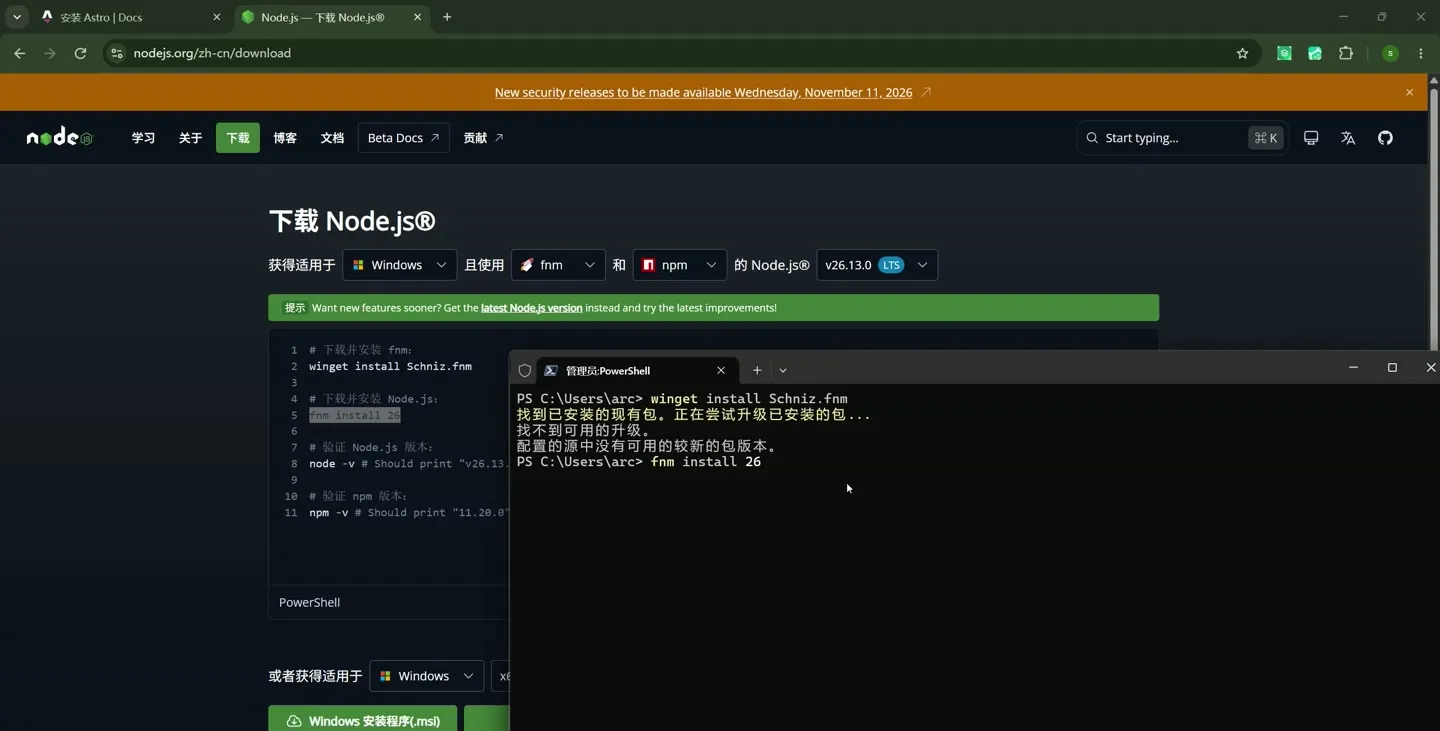
winget 提示已安装
步骤 31:再粘贴 fnm install 26,回车。
Section titled “步骤 31:再粘贴 fnm install 26,回车。”fnm install 26步骤 32:进度条 Installing Node v26.13.0 (x64),等它跑完。
Section titled “步骤 32:进度条 Installing Node v26.13.0 (x64),等它跑完。”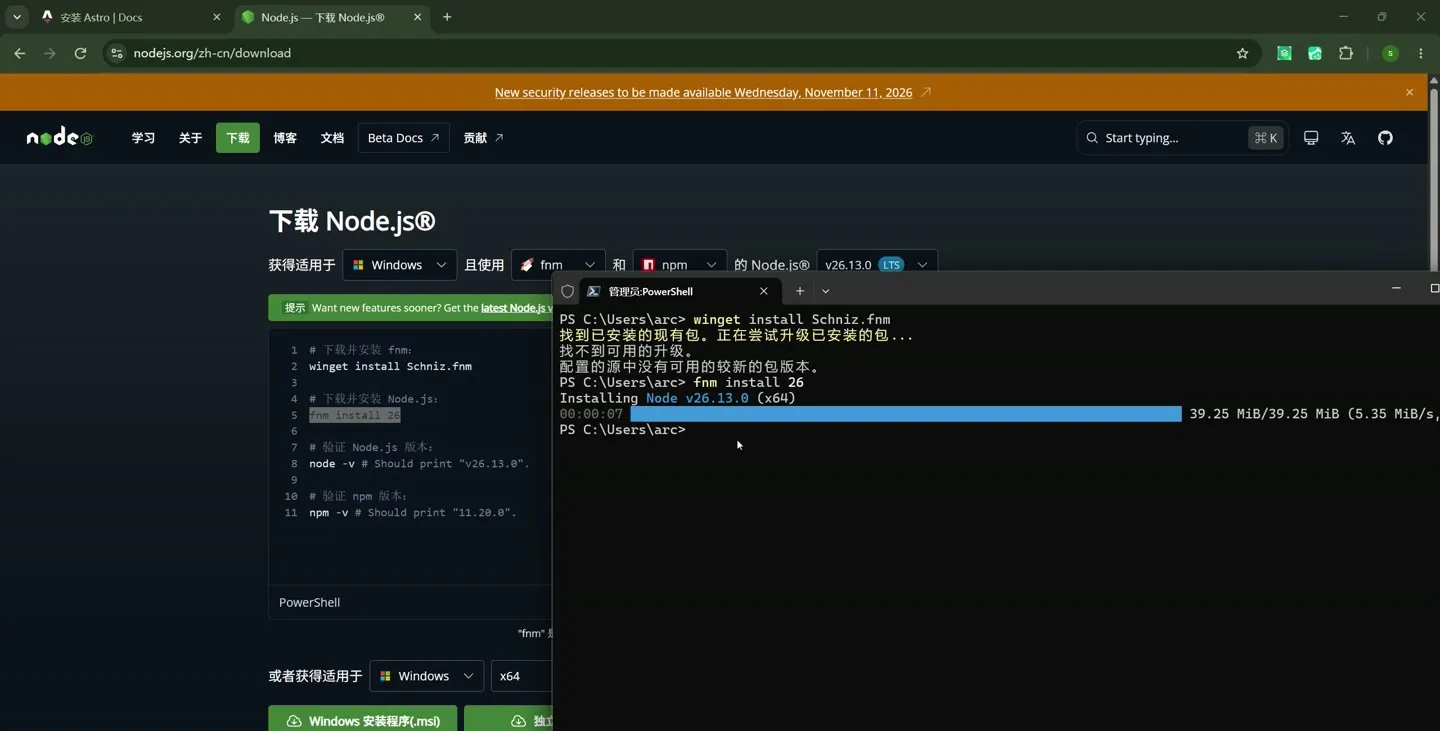
Installing Node v26.13.0
步骤 33:敲 node -v,回车,返回 v26.10.0。
Section titled “步骤 33:敲 node -v,回车,返回 v26.10.0。”跟 26.13.0 对不上,之前装过。有返回就能用。
node -v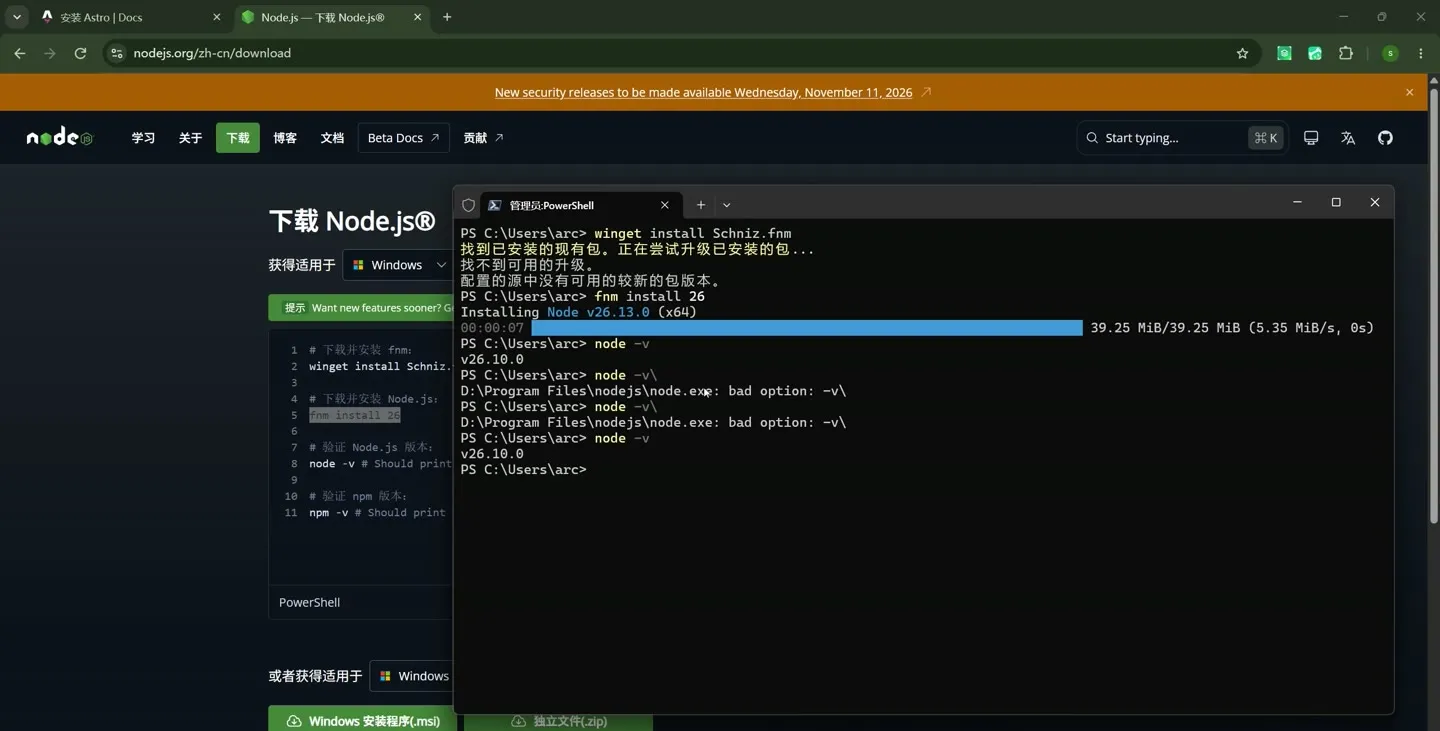
node -v 的返回
步骤 34:敲 npm -v,回车,返回 11.10.0。
Section titled “步骤 34:敲 npm -v,回车,返回 11.10.0。”npm -v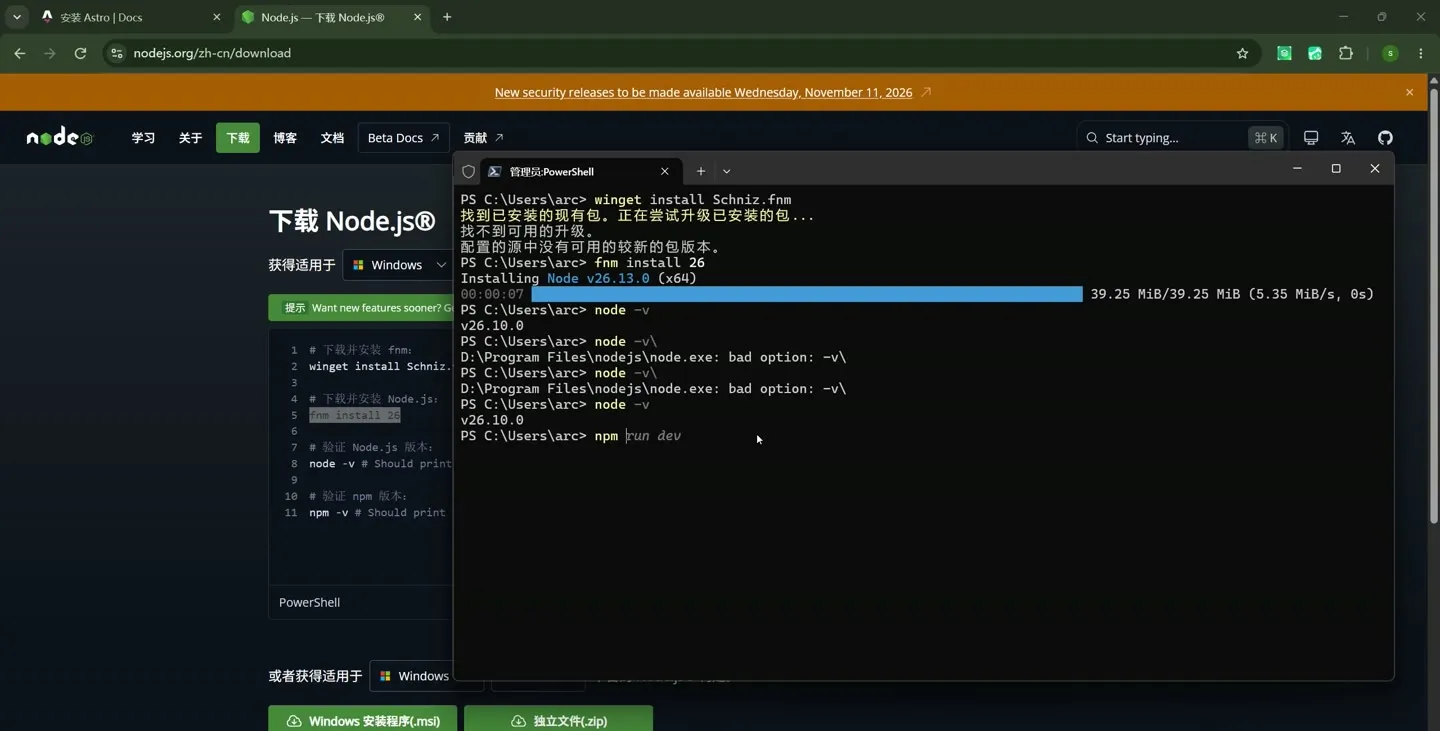
npm -v 的返回
五、CLI 向导生成 Starlight 项目
Section titled “五、CLI 向导生成 Starlight 项目”Astro 的安装命令是 npm create astro@latest;向导会问项目放哪、用哪个模板、装不装依赖、建不建 git 仓库。
步骤 35:回到 Astro 文档「通过 CLI 向导安装」,切到 npm 标签。
Section titled “步骤 35:回到 Astro 文档「通过 CLI 向导安装」,切到 npm 标签。”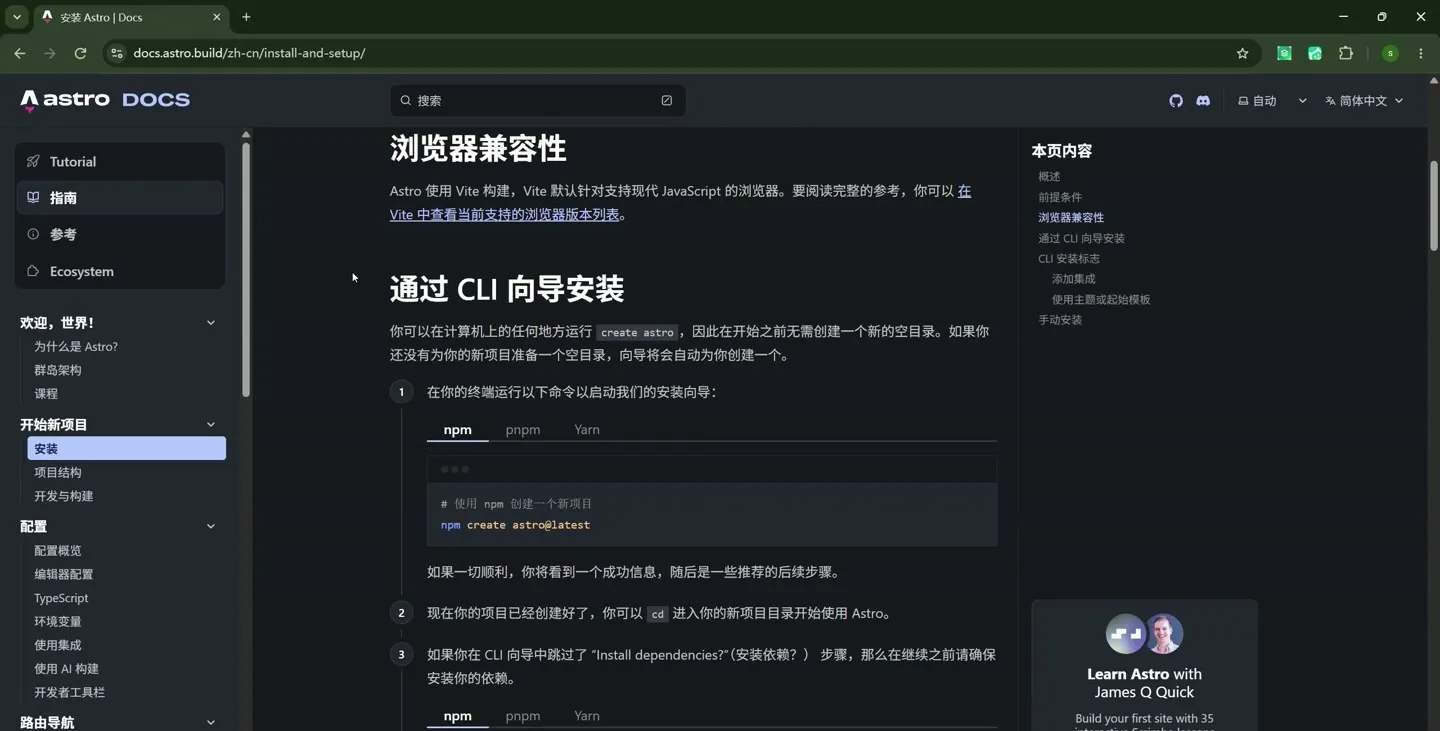
安装文档里的 CLI 向导命令
步骤 36:选中代码块里的命令,复制。
Section titled “步骤 36:选中代码块里的命令,复制。”npm create astro@latest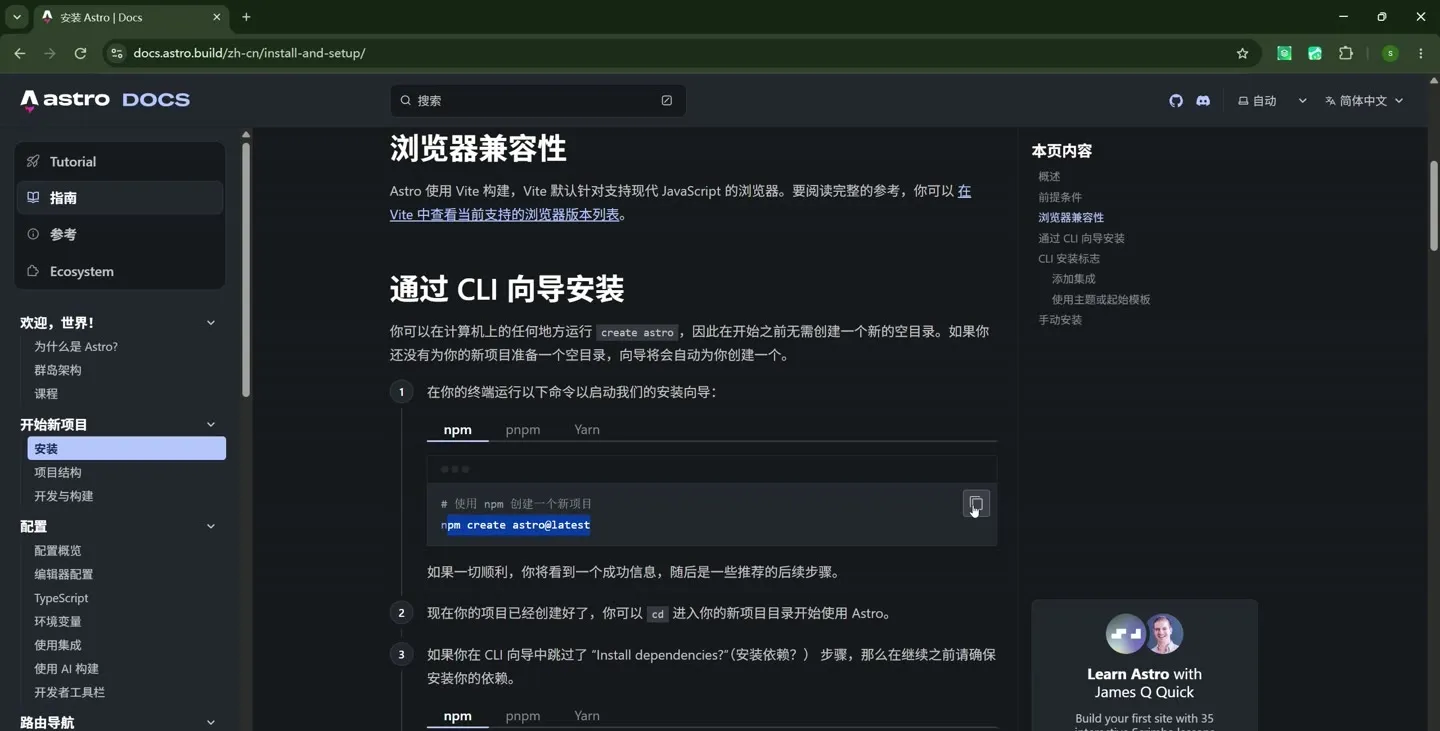
选中 npm create astro@latest
步骤 37:另开一个终端,敲 d:,回车。
Section titled “步骤 37:另开一个终端,敲 d:,回车。”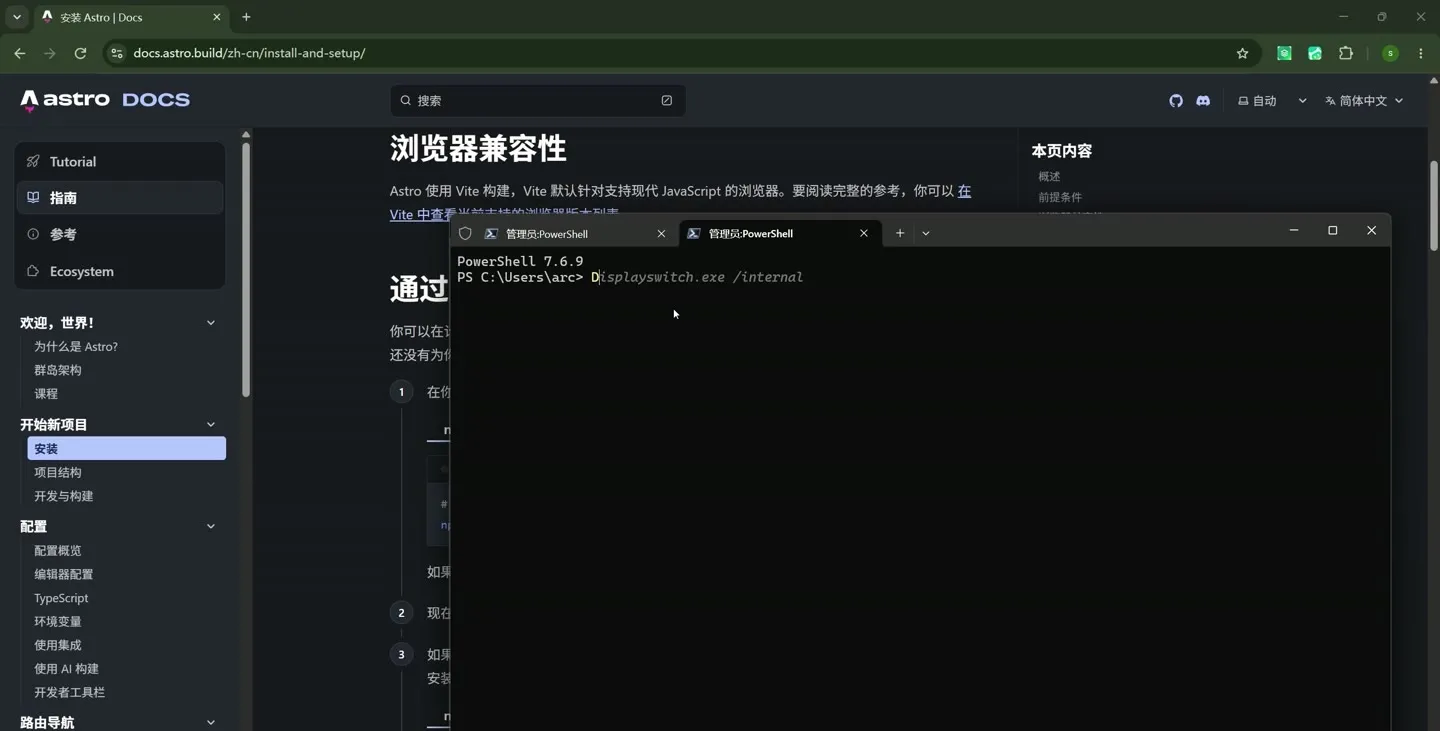
新开的终端窗口
步骤 38:敲 cd .\tmp\,回车,再 ls 看目录里有什么。
Section titled “步骤 38:敲 cd .\tmp\,回车,再 ls 看目录里有什么。”cd .\tmp\ls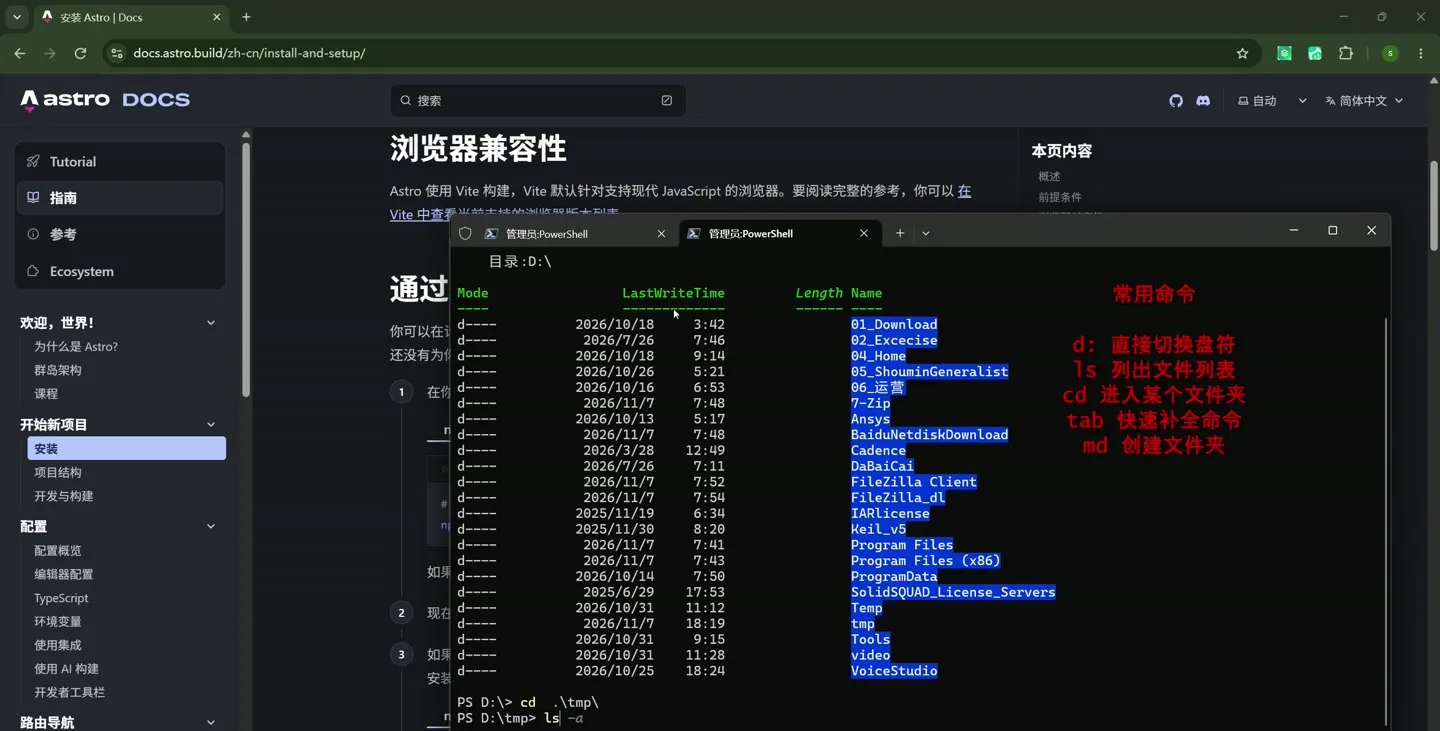
列出临时目录下的文件夹
步骤 39:敲 md astrotmp,回车,建目录。
Section titled “步骤 39:敲 md astrotmp,回车,建目录。”md astrotmp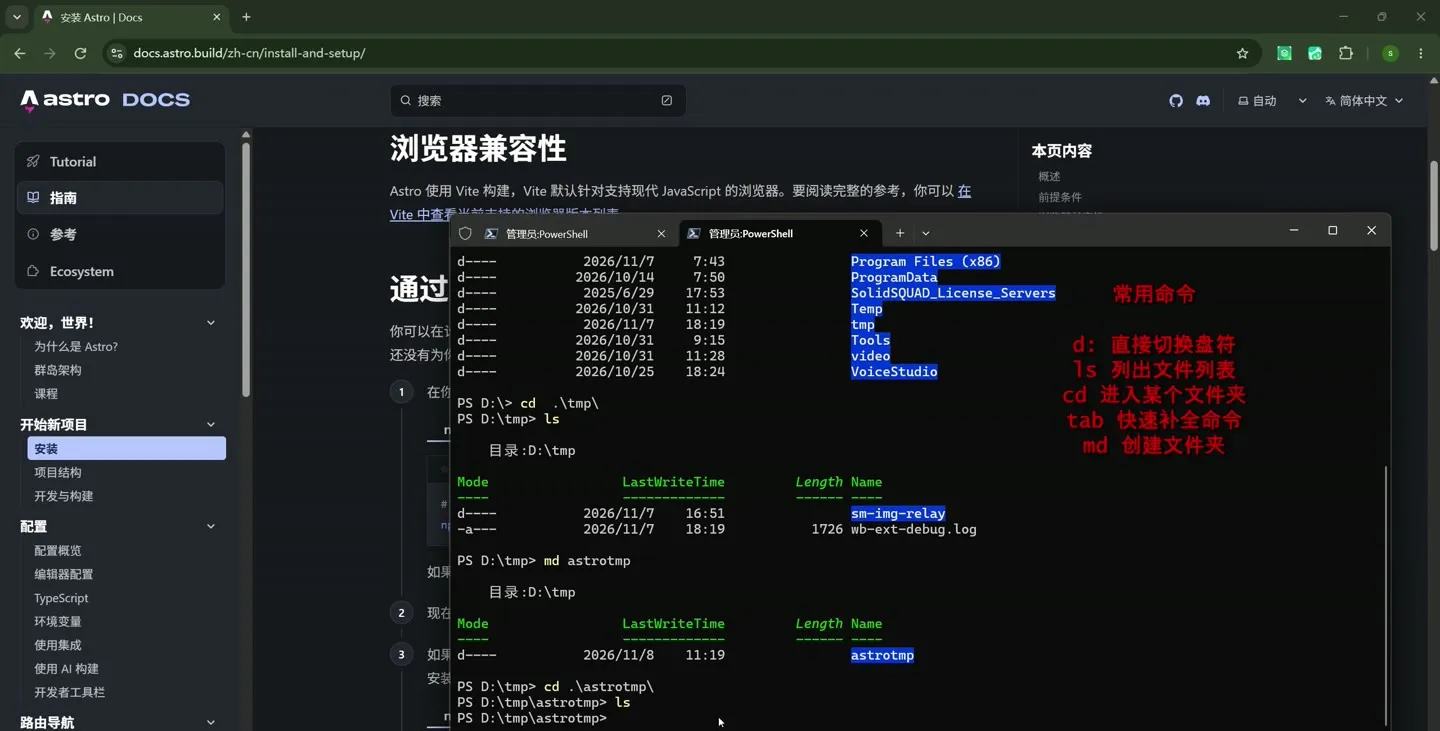
md astrotmp 与后面的目录列表
步骤 40:敲 cd .\astrotmp\,回车,再 ls,里面是空的。
Section titled “步骤 40:敲 cd .\astrotmp\,回车,再 ls,里面是空的。”cd .\astrotmp\ls步骤 41:终端里右键粘贴 npm create astro@latest,回车。
Section titled “步骤 41:终端里右键粘贴 npm create astro@latest,回车。”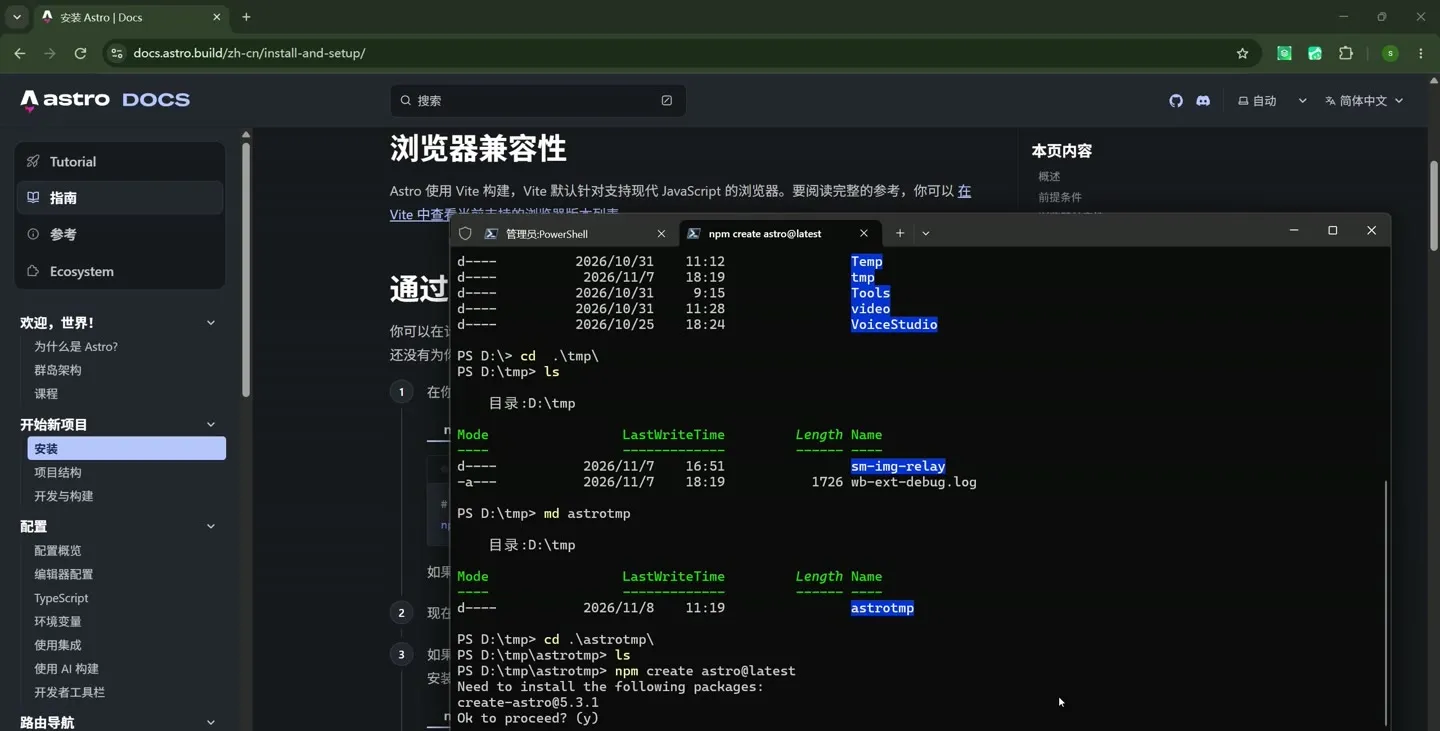
粘贴好的安装命令
步骤 42:提示 Need to install the following packages: [email protected] 和 Ok to proceed? (y),按 y 再回车。
Section titled “步骤 42:提示 Need to install the following packages: [email protected] 和 Ok to proceed? (y),按 y 再回车。”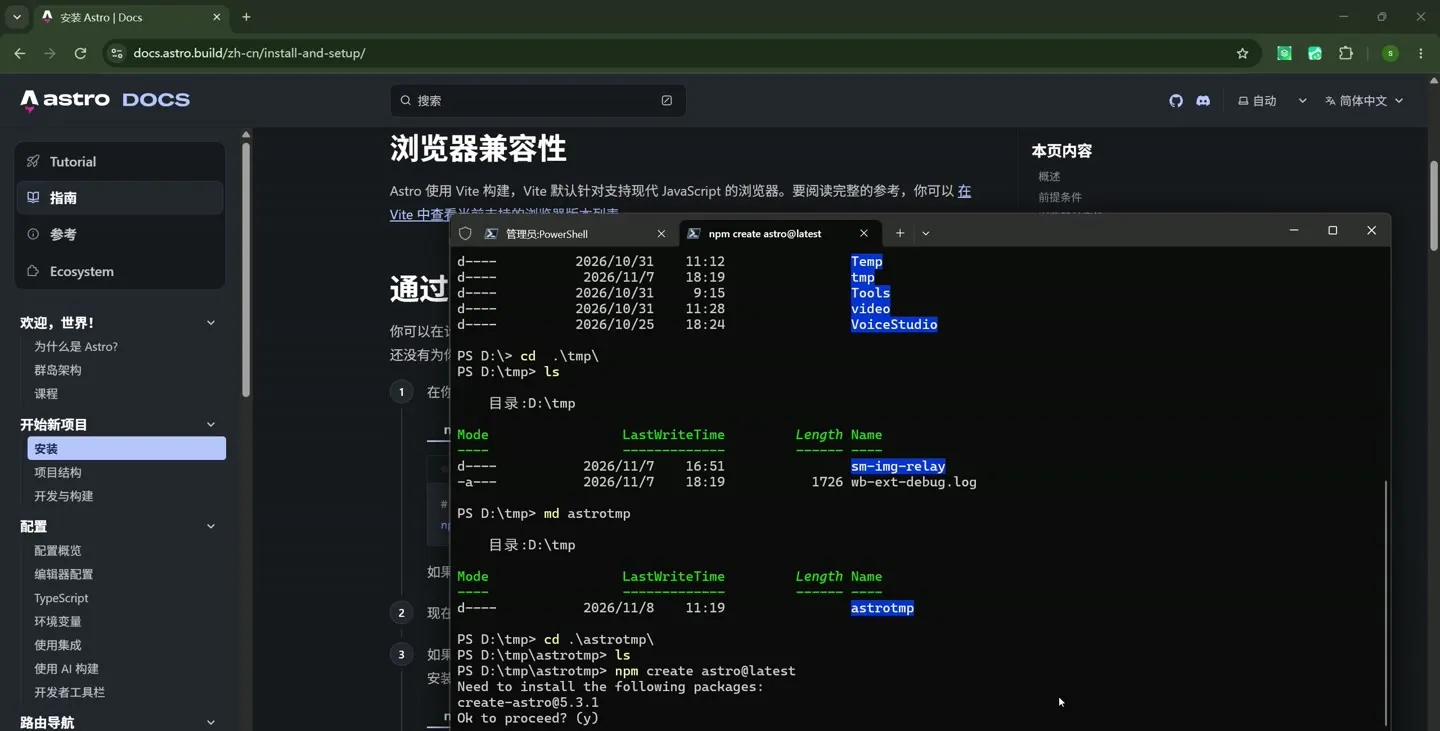
Ok to proceed 处按 y
步骤 43:向导启动,出现 Launch sequence initiated.。
Section titled “步骤 43:向导启动,出现 Launch sequence initiated.。”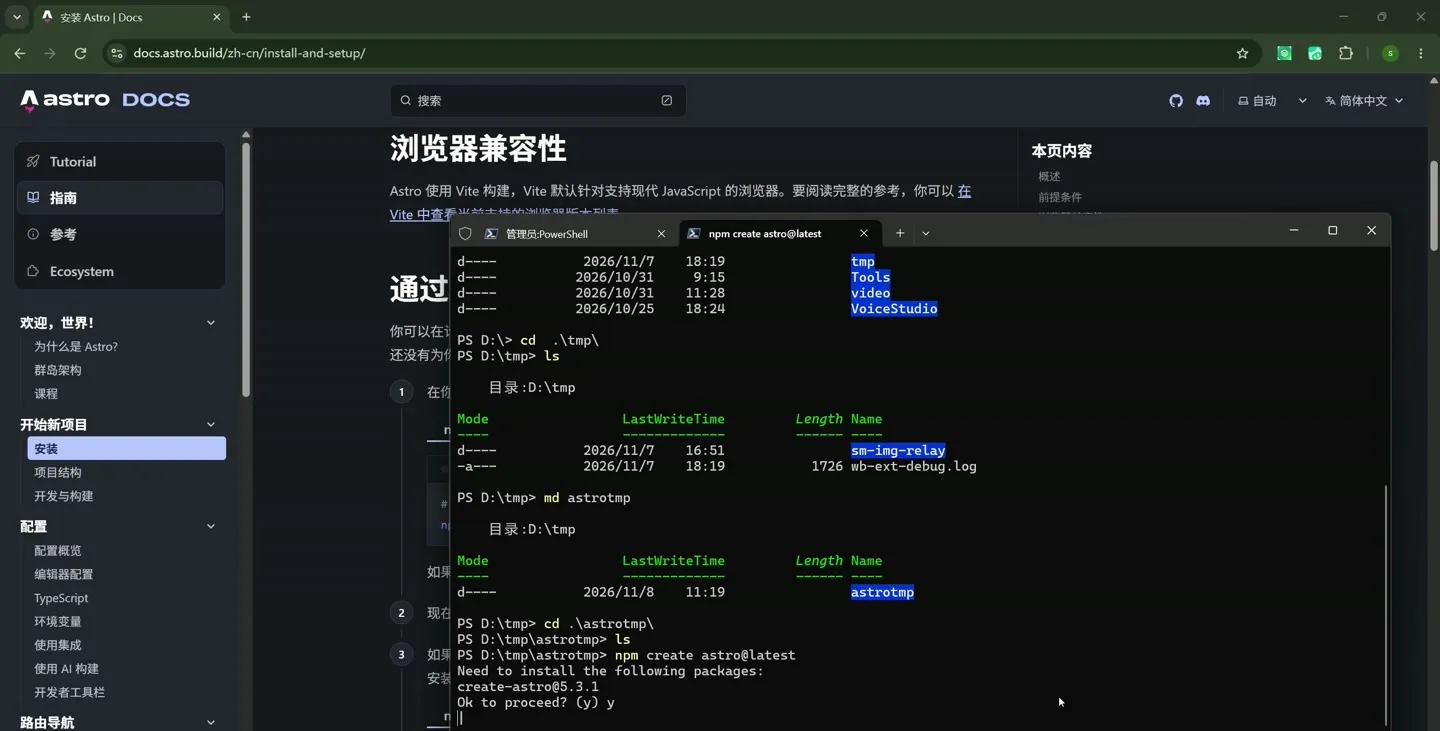
向导启动
步骤 44:第一问 Where should we create your new project?,默认 ./grateful-gravity,直接回车。
Section titled “步骤 44:第一问 Where should we create your new project?,默认 ./grateful-gravity,直接回车。”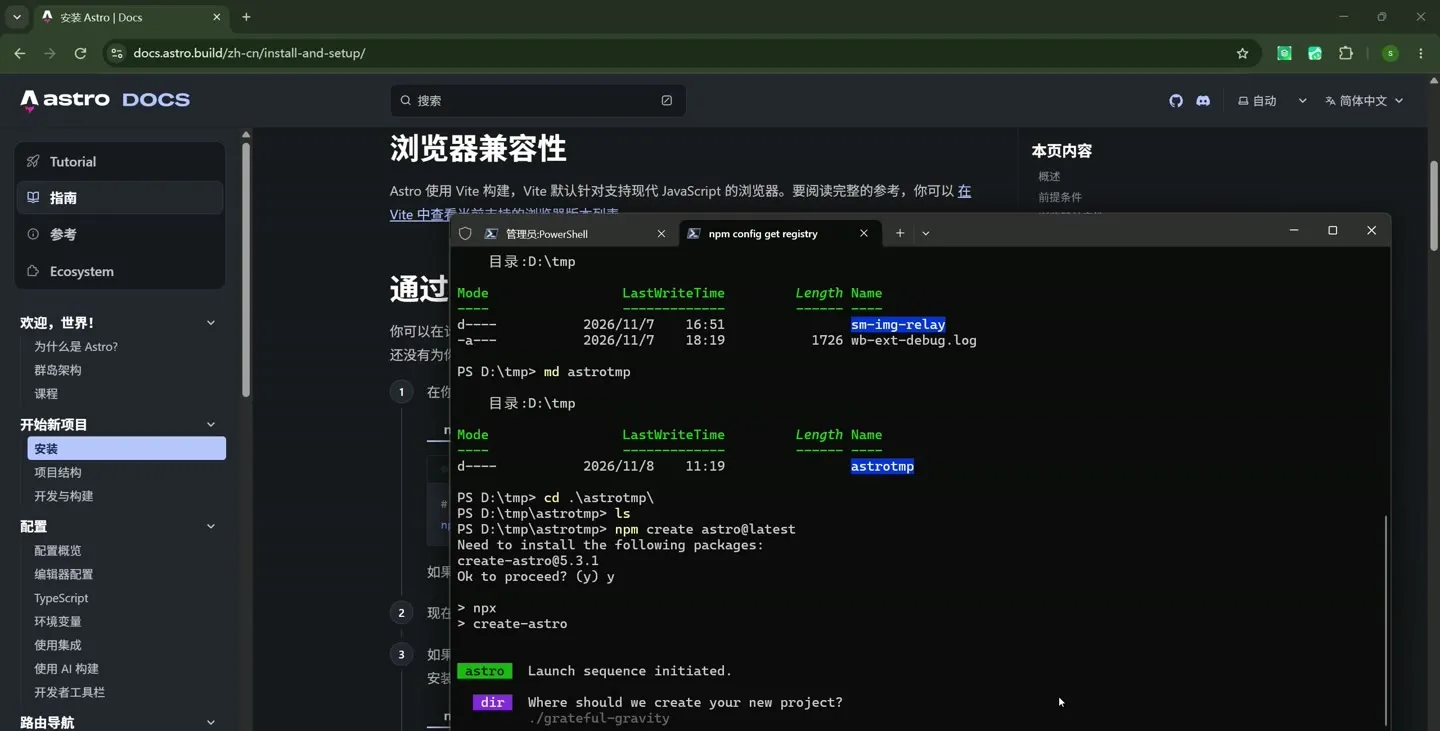
第一问,默认项目路径
步骤 45:第二问 How would you like to start your new project?,按 ↓ 选到 Use docs (Starlight) template,回车。
Section titled “步骤 45:第二问 How would you like to start your new project?,按 ↓ 选到 Use docs (Starlight) template,回车。”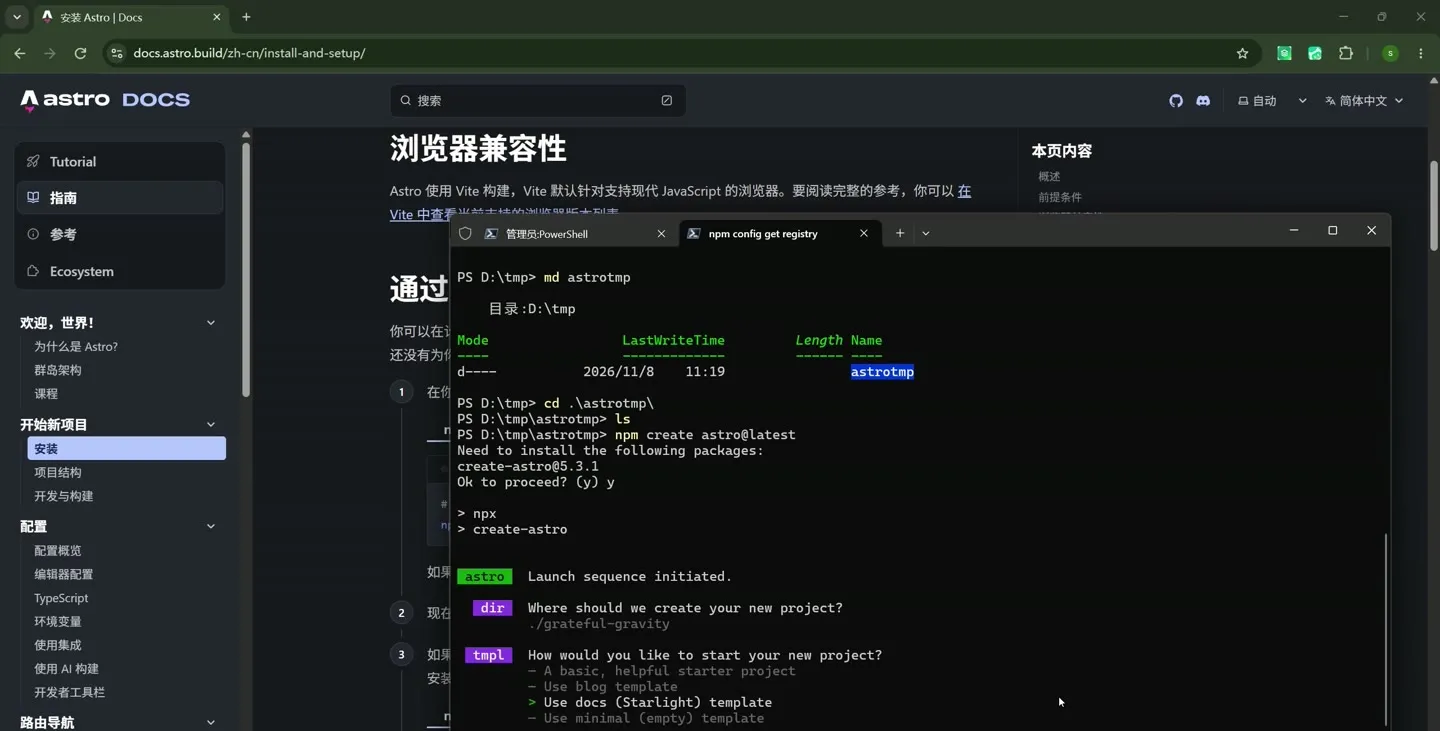
四个模板选项
技巧:四项里第三项是 Starlight,别停在默认的 basic 上。
步骤 46:第三问 Install dependencies?,默认 Yes,回车。
Section titled “步骤 46:第三问 Install dependencies?,默认 Yes,回车。”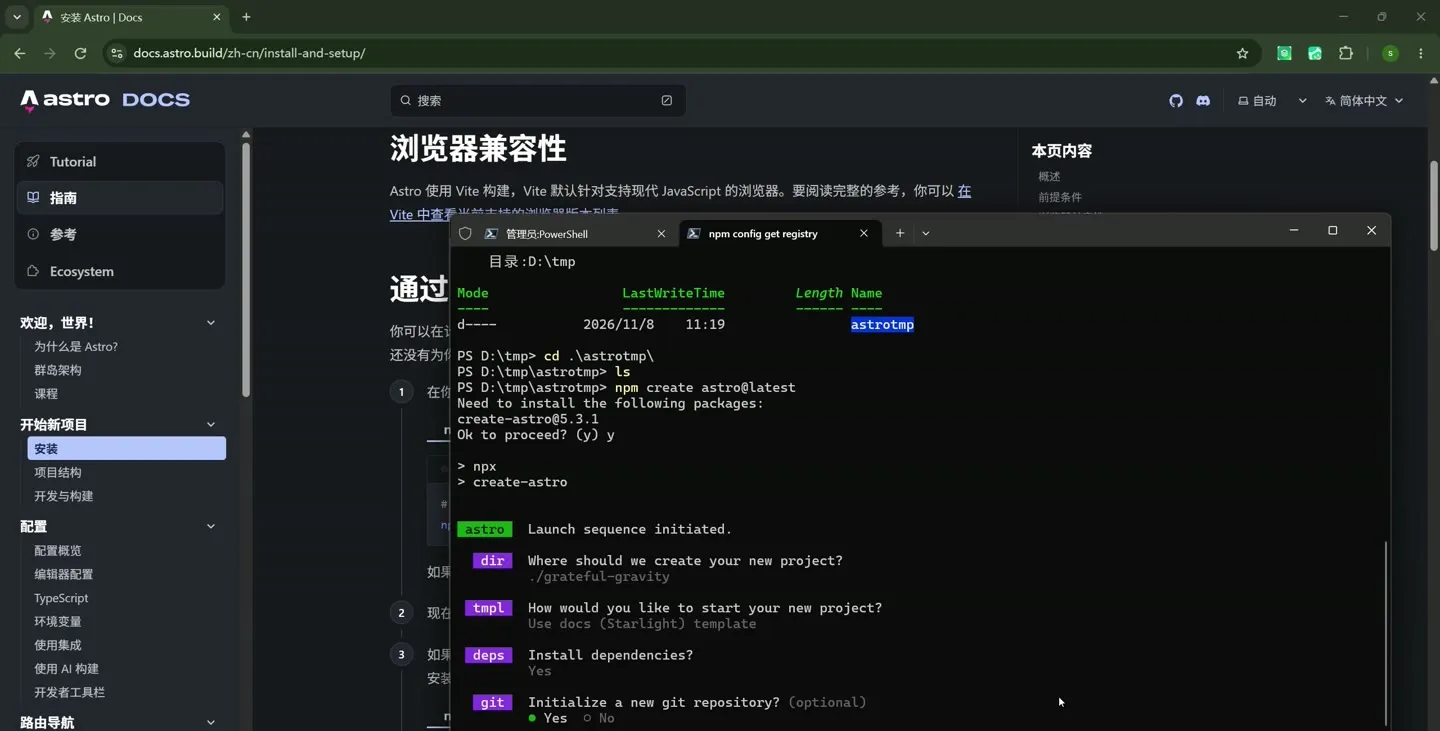
Install dependencies 回答 Yes
步骤 47:第四问 Initialize a new git repository?,选 Yes,回车。
Section titled “步骤 47:第四问 Initialize a new git repository?,选 Yes,回车。”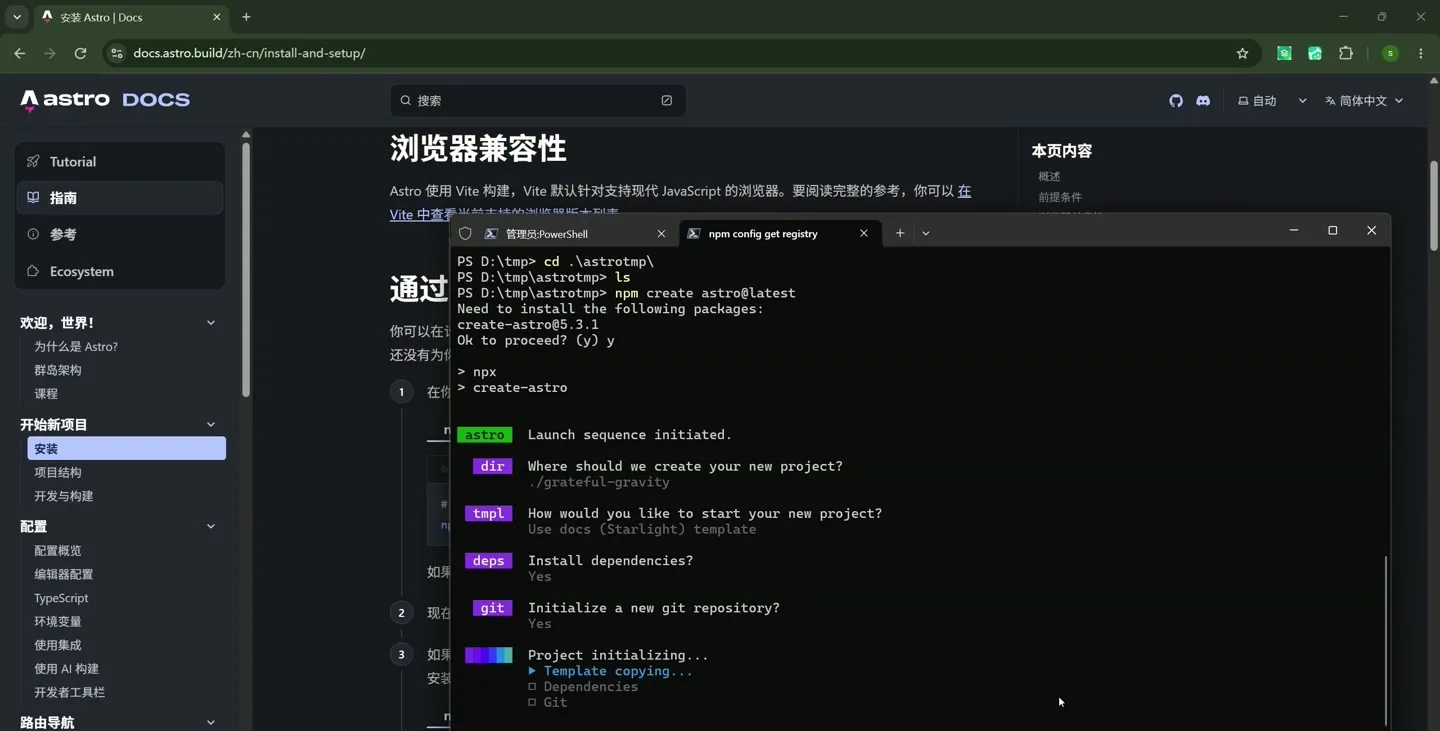
四问都答完,开始初始化
步骤 48:等 Template copied、Dependencies installed、Git initialized 三行都打勾。
Section titled “步骤 48:等 Template copied、Dependencies installed、Git initialized 三行都打勾。”三行都打勾才算装完。
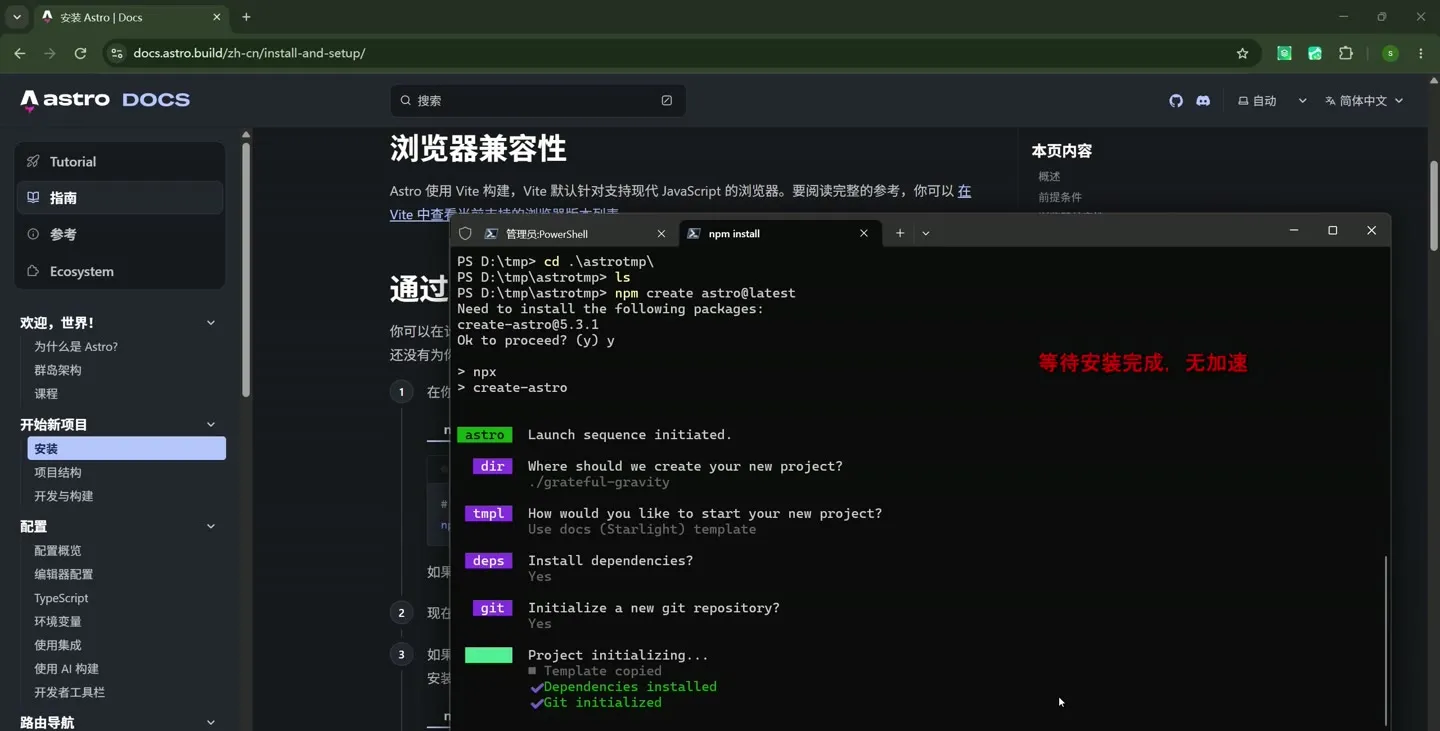
安装完成后的输出
步骤 49:打开文件资源管理器,astrotmp 下面多出 grateful-gravity。
Section titled “步骤 49:打开文件资源管理器,astrotmp 下面多出 grateful-gravity。”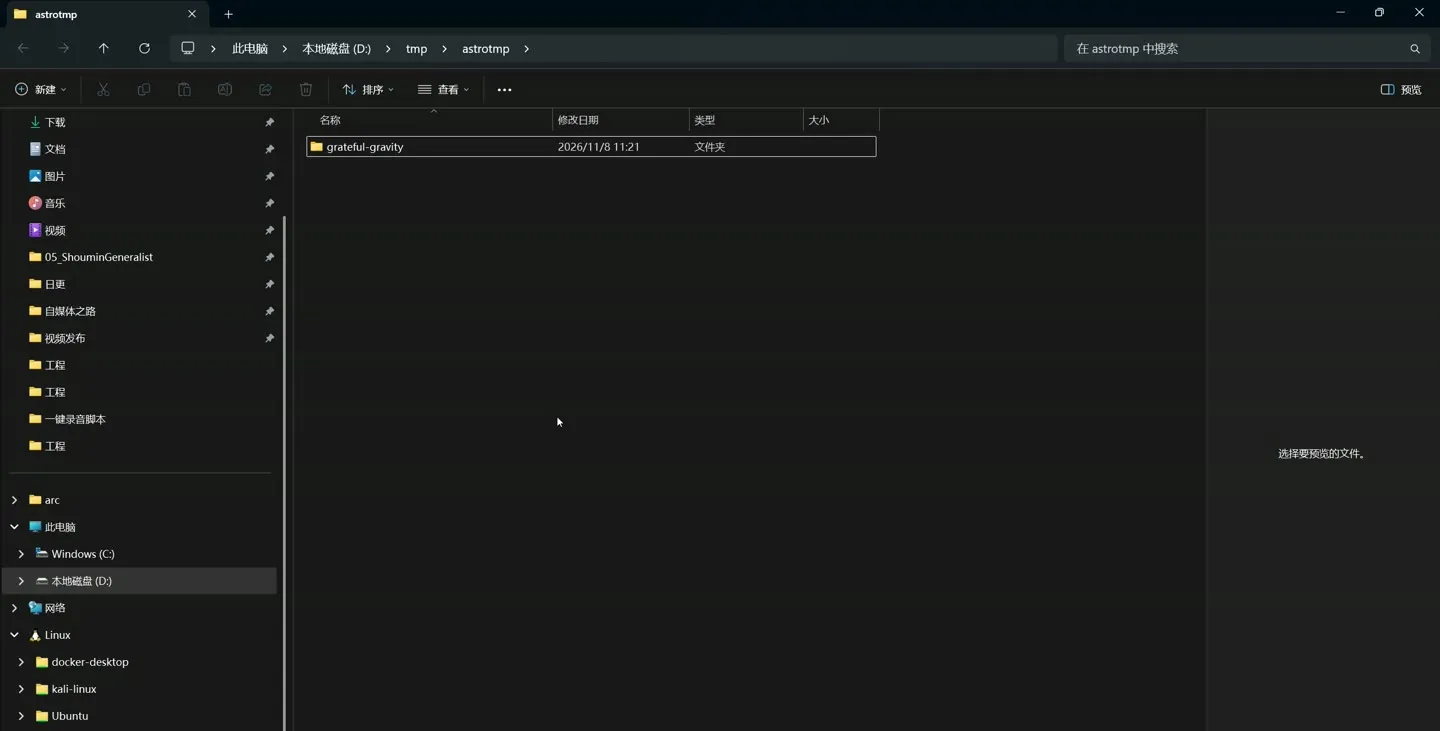
生成出来的项目文件夹
六、VSCode 里跑起本地服务
Section titled “六、VSCode 里跑起本地服务”步骤 50:VSCode 打开 grateful-gravity,左侧是项目文件树。
Section titled “步骤 50:VSCode 打开 grateful-gravity,左侧是项目文件树。”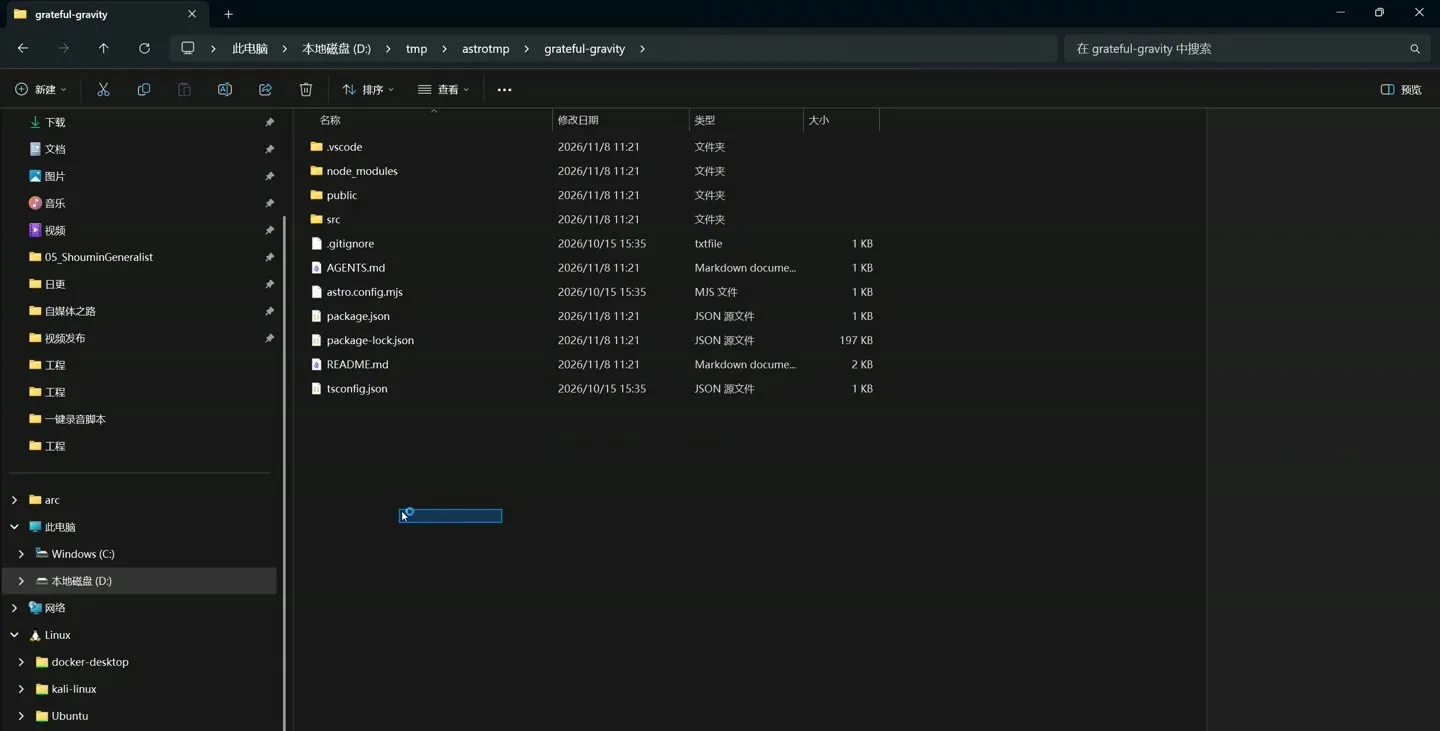
VSCode 里的项目结构
步骤 51:点「信任此文件夹」弹窗里的信任按钮。
Section titled “步骤 51:点「信任此文件夹」弹窗里的信任按钮。”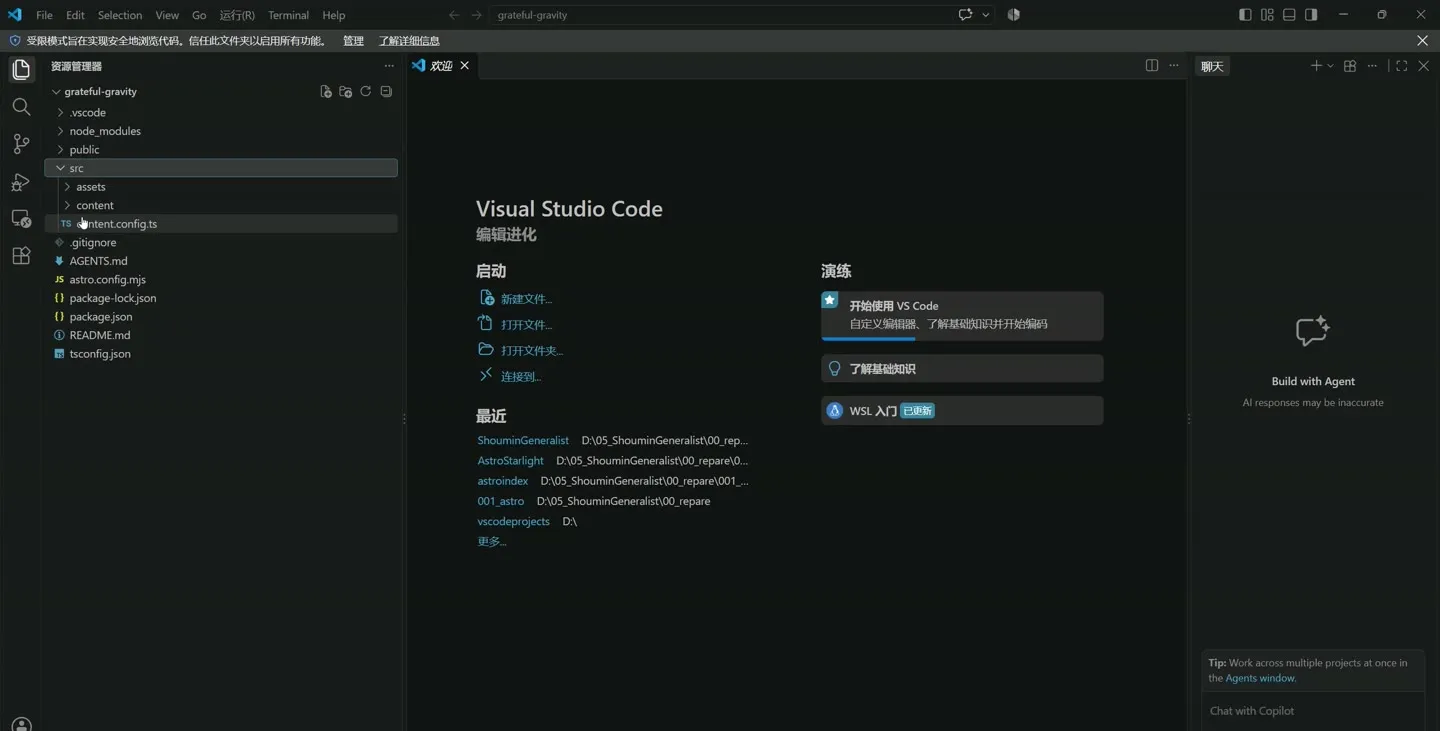
VSCode 的工作区信任弹窗
步骤 52:按 Ctrl 加反引号键,打开集成终端。
Section titled “步骤 52:按 Ctrl 加反引号键,打开集成终端。”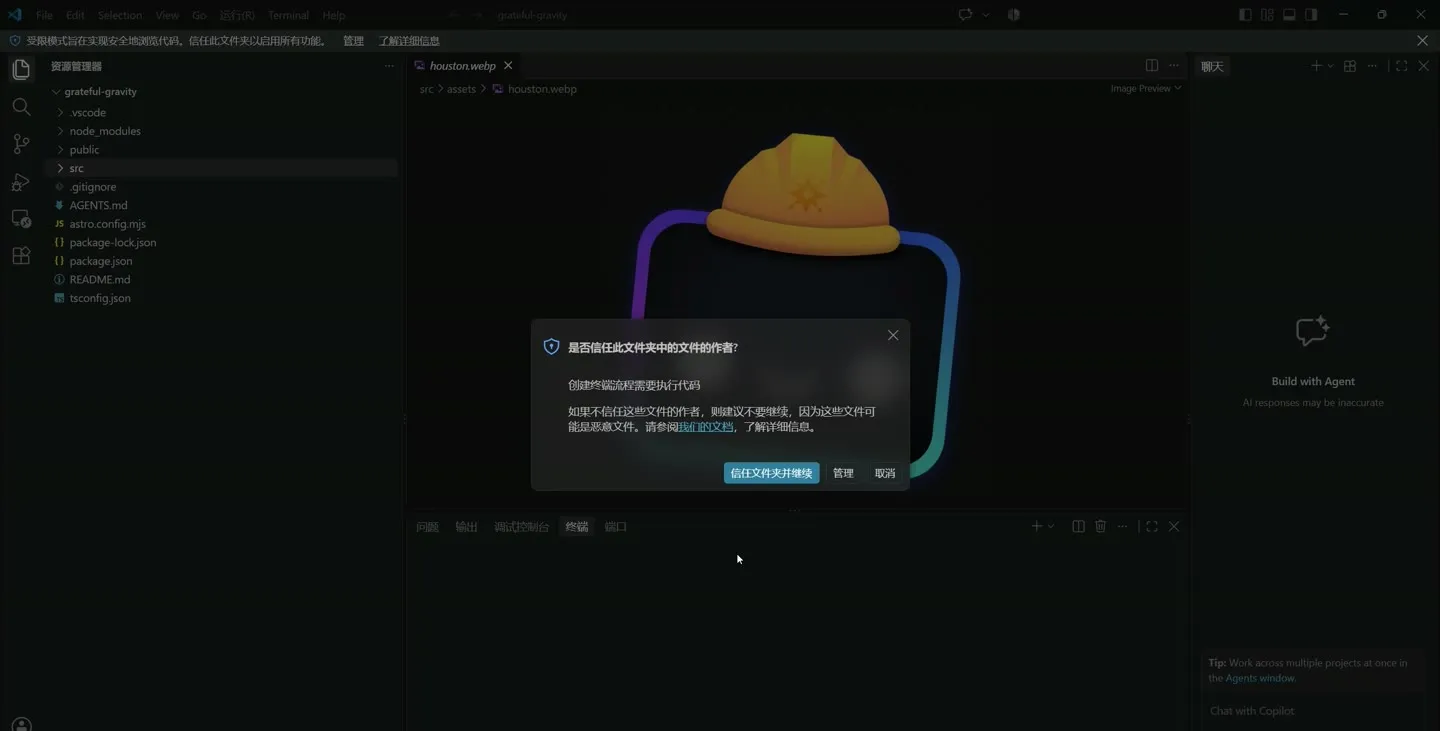
VSCode 底部打开的终端
步骤 53:敲 npm run dev,回车。
Section titled “步骤 53:敲 npm run dev,回车。”npm run dev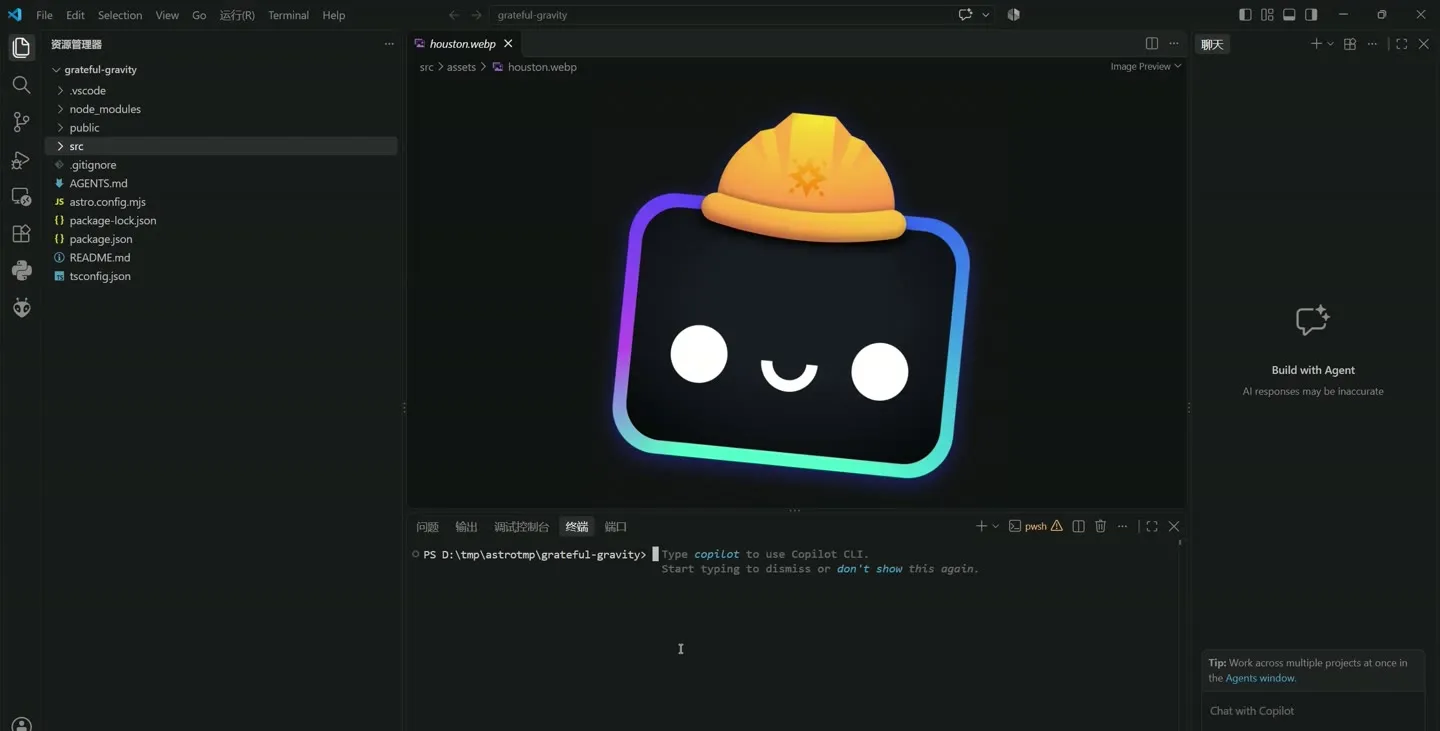
终端里输入 npm run dev
步骤 54:输出 astro dev,最后一行给出 Local http://localhost:4321/。
Section titled “步骤 54:输出 astro dev,最后一行给出 Local http://localhost:4321/。”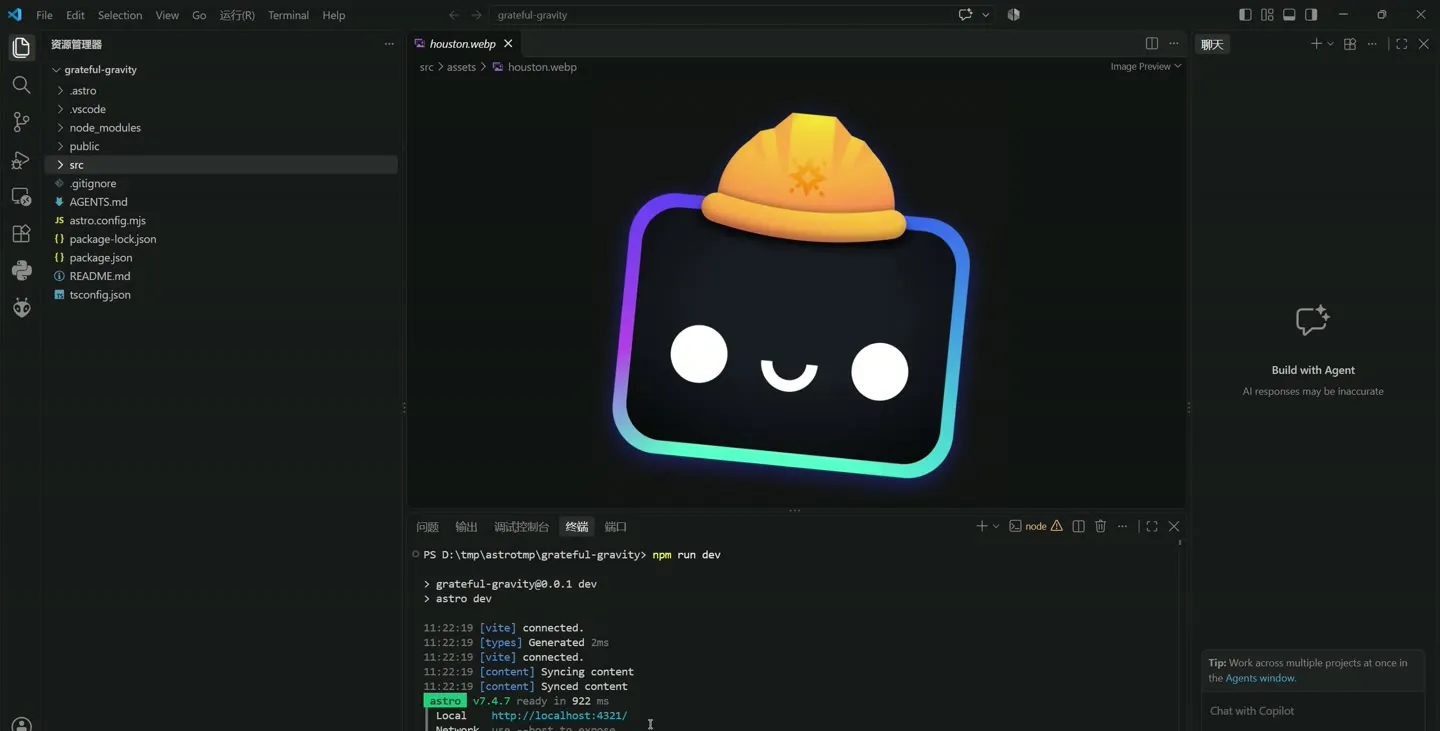
本地服务地址 localhost:4321
步骤 55:浏览器打开这个地址,看到 Welcome to Starlight 首页。
Section titled “步骤 55:浏览器打开这个地址,看到 Welcome to Starlight 首页。”模板首页先别改,后面再动内容。
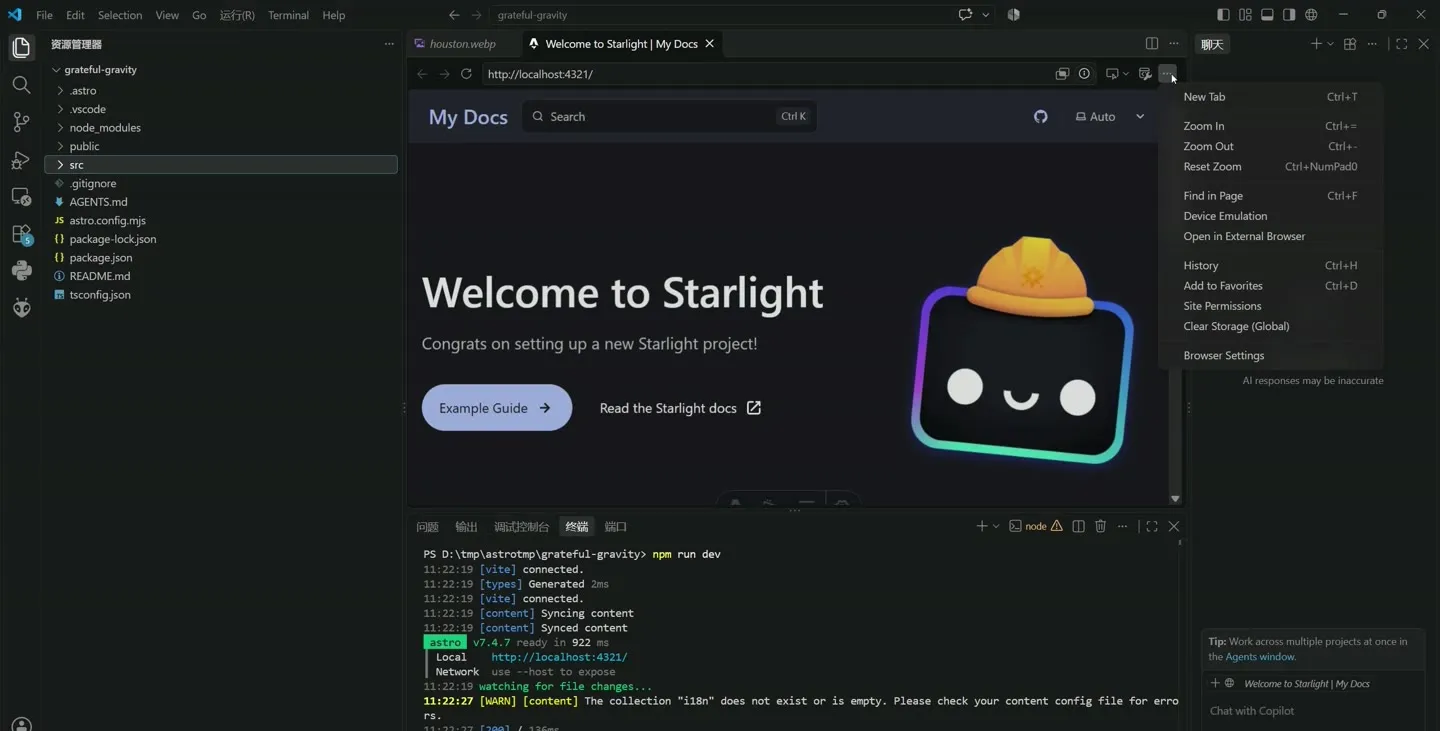
Starlight 模板首页
步骤 56:点侧栏的 Example Guide、Example Reference,看模板给的页面。
Section titled “步骤 56:点侧栏的 Example Guide、Example Reference,看模板给的页面。”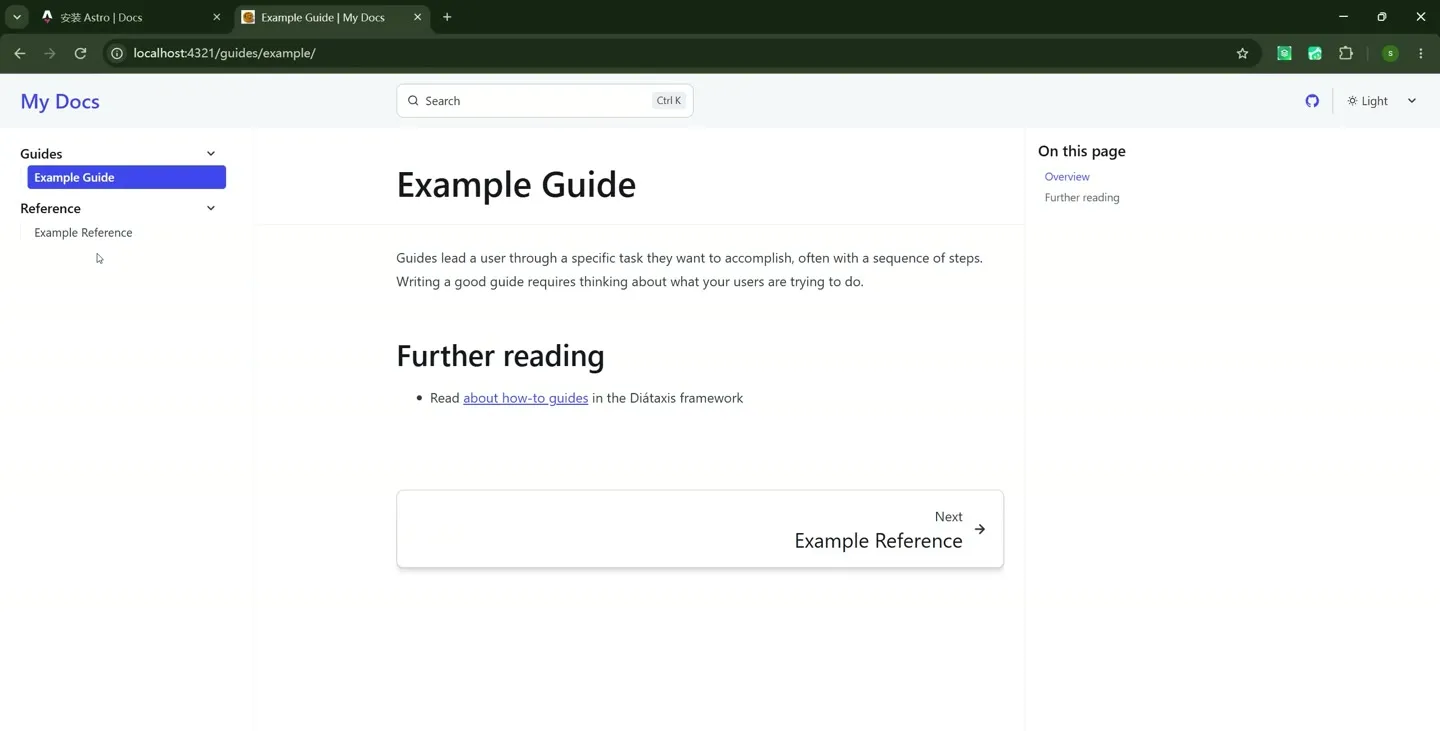
模板自带的示例页
步骤 57:复制 https://docs.astro.build/zh-cn/install-and-setup/,挂到导图的「Astro安装」下。
Section titled “步骤 57:复制 https://docs.astro.build/zh-cn/install-and-setup/,挂到导图的「Astro安装」下。”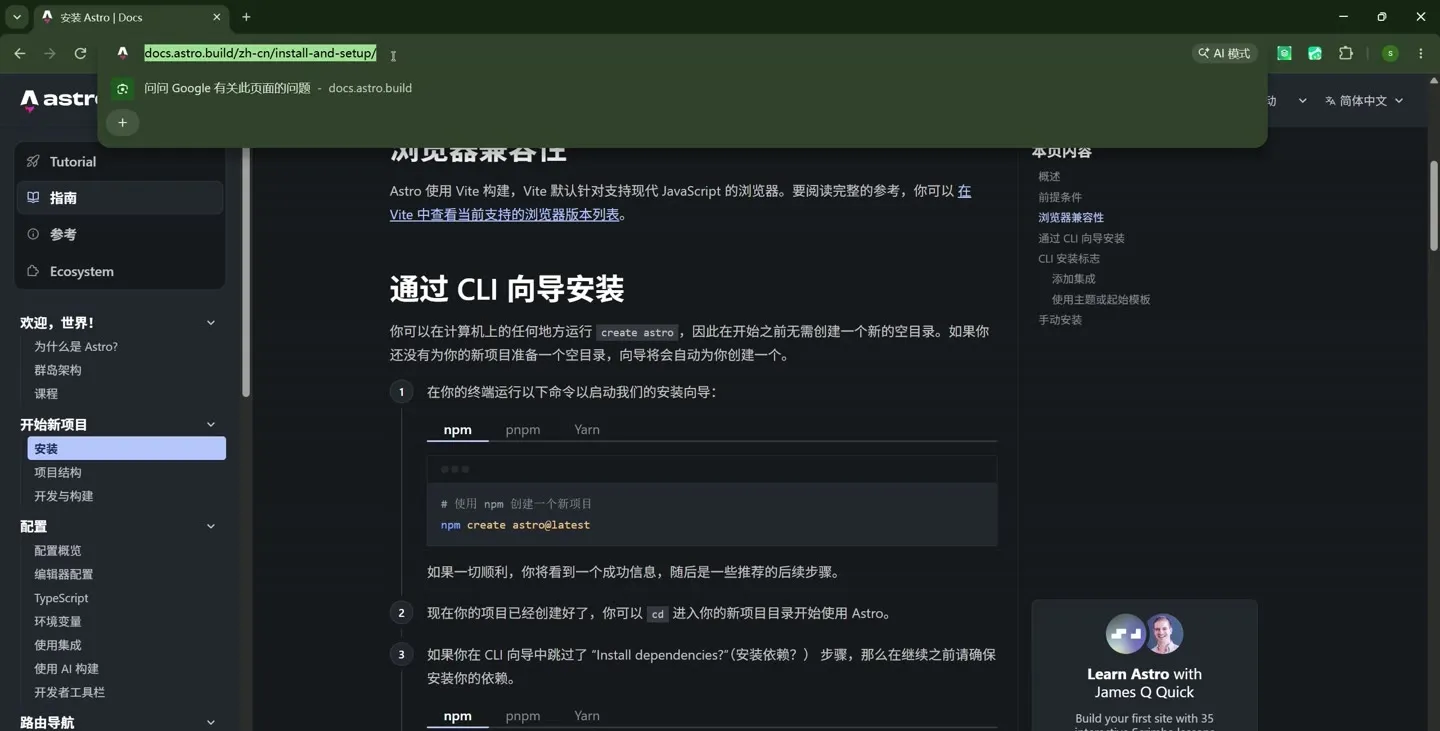
地址栏里选中安装文档网址
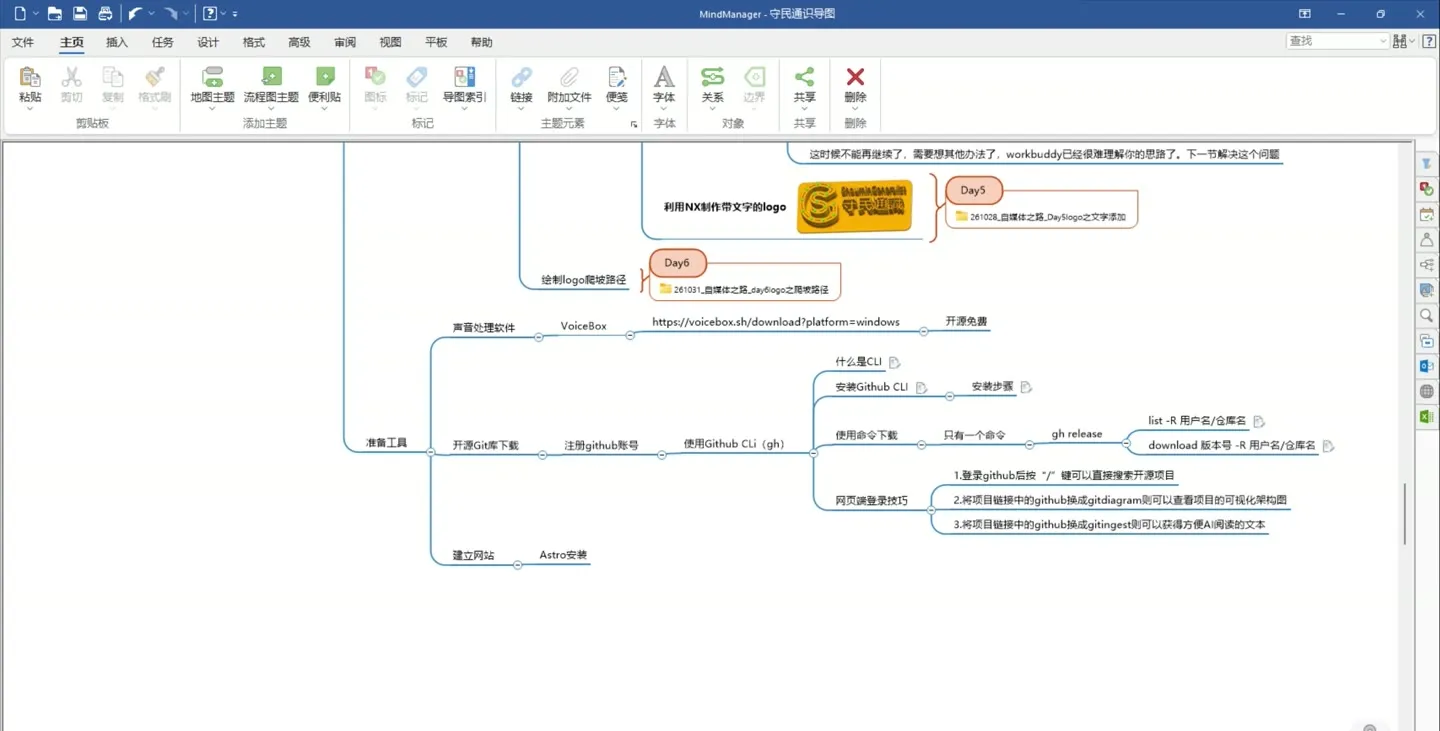
知识地图进度(截至 Day 9)
Section titled “知识地图进度(截至 Day 9)”下图是「守民通识导图」截至本篇(Day 9)已经长出来的部分。后面几天才会补的节点这里不画出来。
(点击图片可放大查看;滚轮缩放、按住拖拽平移,双击复位;点击空白处、右上角 × 或按 Esc 关闭)
这一节在「准备工具」下接出「建立网站」:下面是「Astro安装」,再挂「需要先安装node.js」、两个网址和 winget 的定义。Astro 学习那一支还没动,图上不画。
本节完 · 从 313 步实录中取 57 步,配 56 帧。